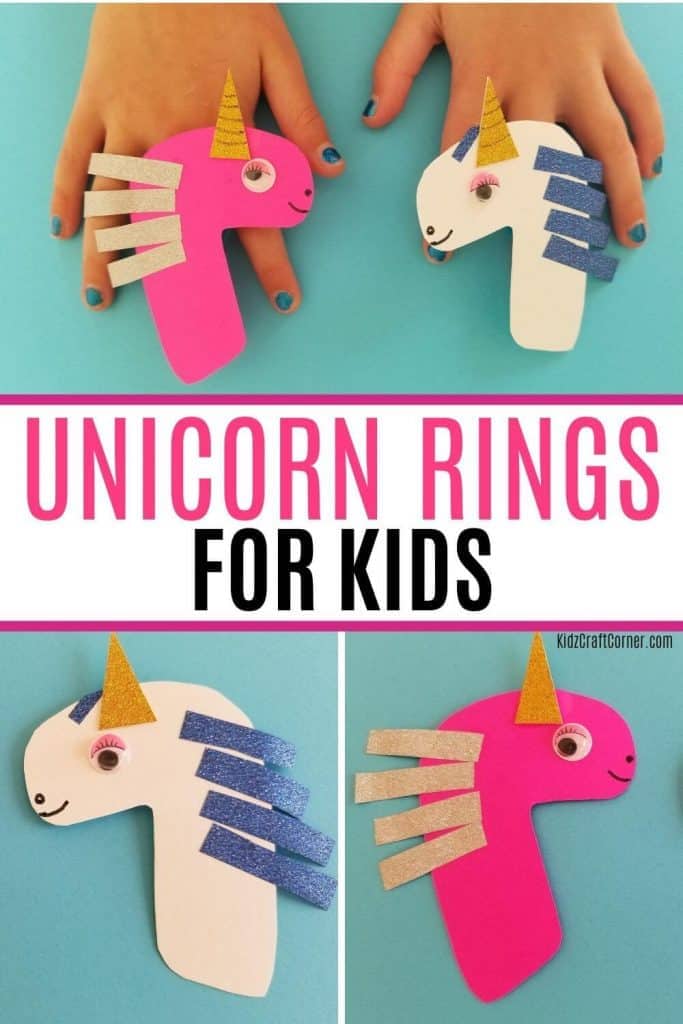
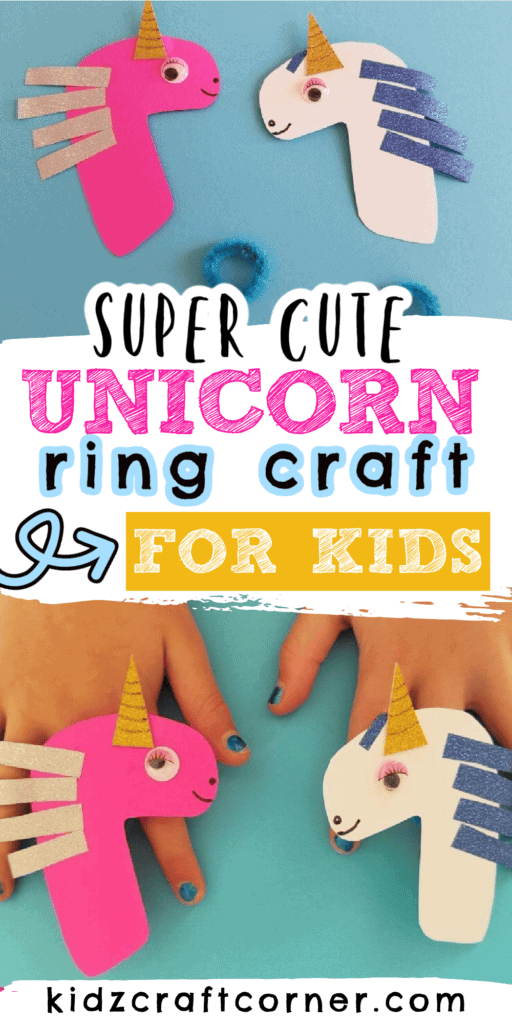
Unicorn Ring Craft (Your Kids Will Absolutely Love This)
I’m guessing you’re here because you have a kid that LOVES unicorns… So DO I!
My daughter loves all things unicorns and she’s a little fashionista. That’s why she absolutely loved this craft.
I’m going to show you how to create a super cute Unicorn Ring.
Notice: This post contains affiliate links. To learn more read our Disclaimer Here.
Unicorn Ring Craft Details:
Age Group: 4+ yrs
Difficulty: Medium
Time To Complete: 30 – 40 min
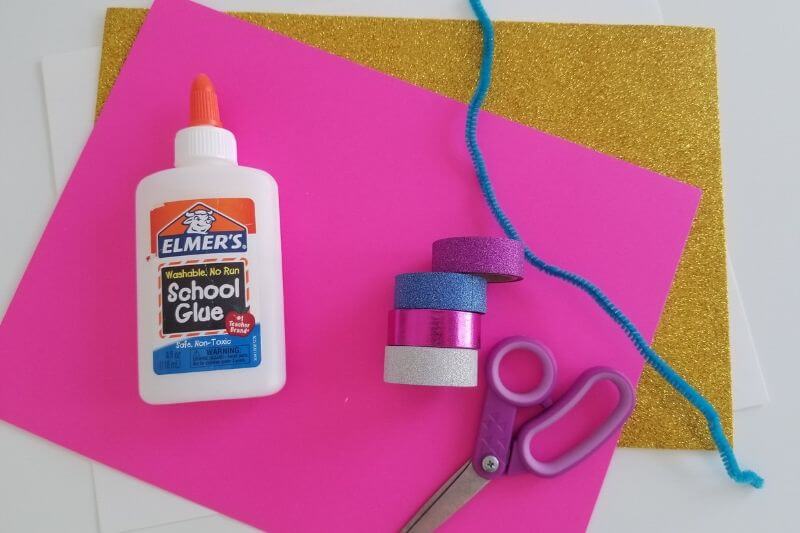
Supplies Needed To Make Unicorn Rings
Most of our craft ideas are made up of things that you might have laying around the house. We love to buy craft supplies that serve multiple craft projects, it keeps the cost of each craft to a minimum.
If you tried our rainbow paper craft, you’ll notice that we’re using some of the paper that was required for that project.
Here’s what you’ll need for this craft:
> Glue
> Scissors
How To Create Unicorn Rings
Let’s get into the fun stuff!
This is where we get to start building our super cute Unicorn Rings!
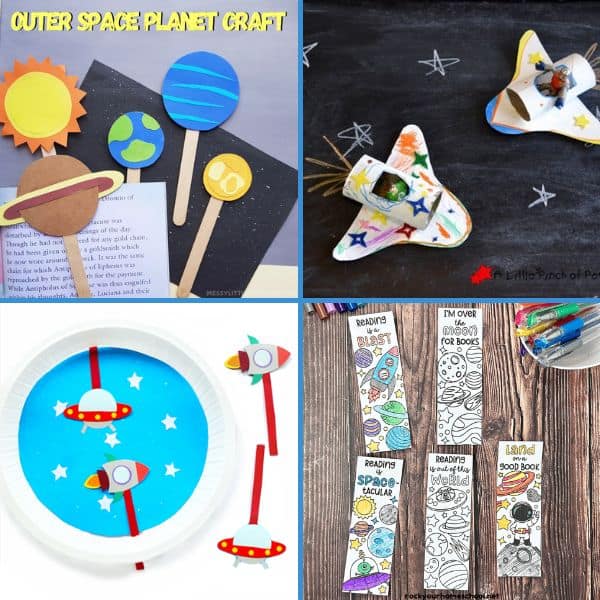
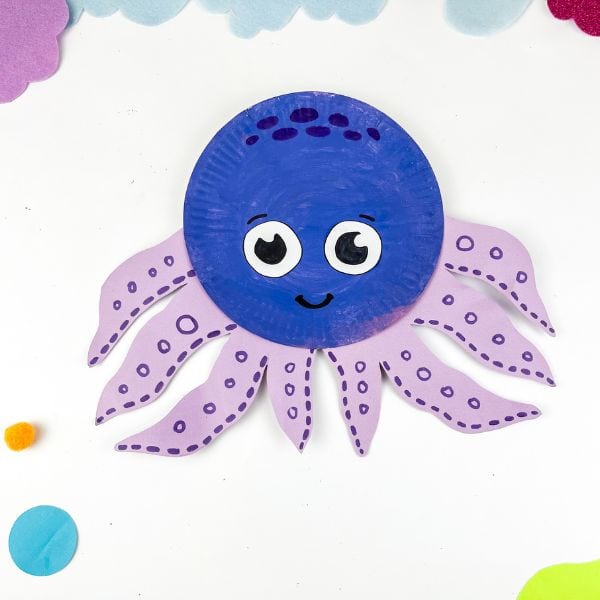
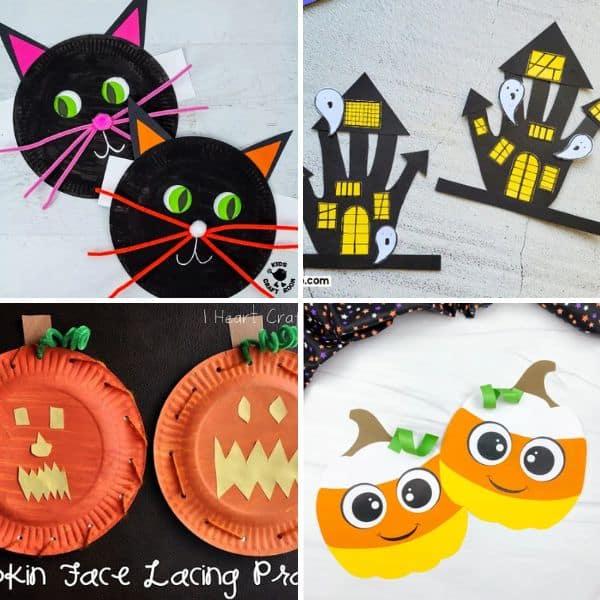
Other fun craft ideas:
- 15 Easy Octopus Crafts For Kids
- Blow Painting With Straws: Fun Rainbow Project Any Age
- The Rainbow Paper Craft Your Kids Will Obsess Over
- Make Your Own Unicorn Puppet In 4 Easy Steps
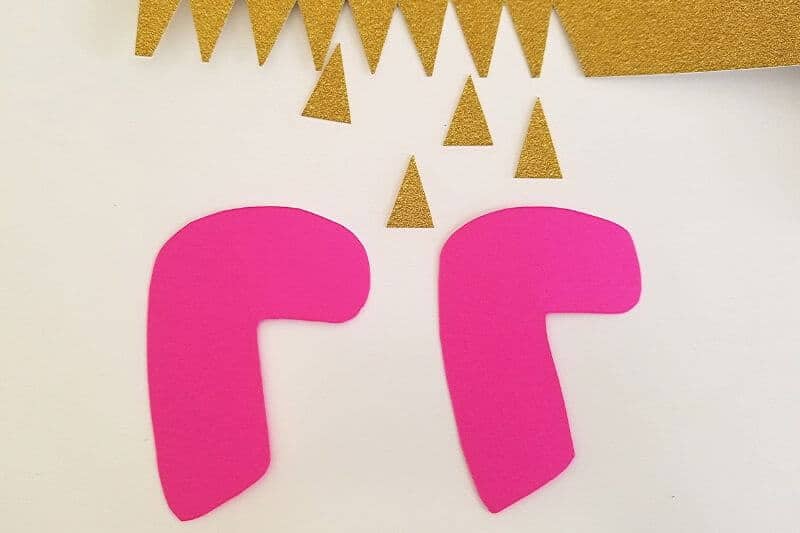
Step 1: Cut Out The Unicorn Head And Horn
Once you collected the supply list above, the first thing you will need to do for this craft is cut out the Unicorn Head and its horn.
Take one sheet of colored paper, whatever color you want your unicorn to be, and draw the shape of the unicorn head. You can make the head any shape you want, just remember to keep it similar to the shape of a horse head.
Keep in mind, that these are going to be worn on your child’s finger like a ring so you don’t want to make them too big. The ones shown below are about 3-4 inches tall.
Insider Tip: If you’re going to make a lot of these, create a template and use that to trace the shape of each unicorn head.
Once you have the head drawn out, it’s time to cut it out. Use the scissors to cut out your unicorn head.
With the head cut out for your unicorn ring, you now need to cut out the horn.
Take the glitter paper and cut out little triangles for the horns. Ours were about 1-inch tall triangles.
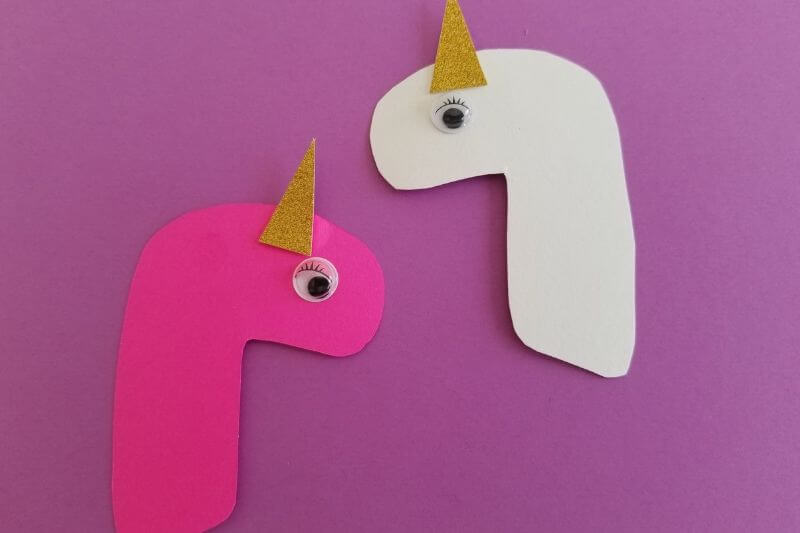
Step 2: Gluing Horns And Eyes On
Now that you’ve got your unicorn head and horns cut out, it’s time to glue them together.
Put a little drop of glue on the bottom of the backside of your unicorn horn and stick it to the top of your unicorn head. Make sure you give it time to dry.
Next, you’ll want to select a googly eye for your unicorn. Once you’ve chosen the right googly eye for your unicorn, place a small drop of glue on the backside of it and stick it to your unicorn head.
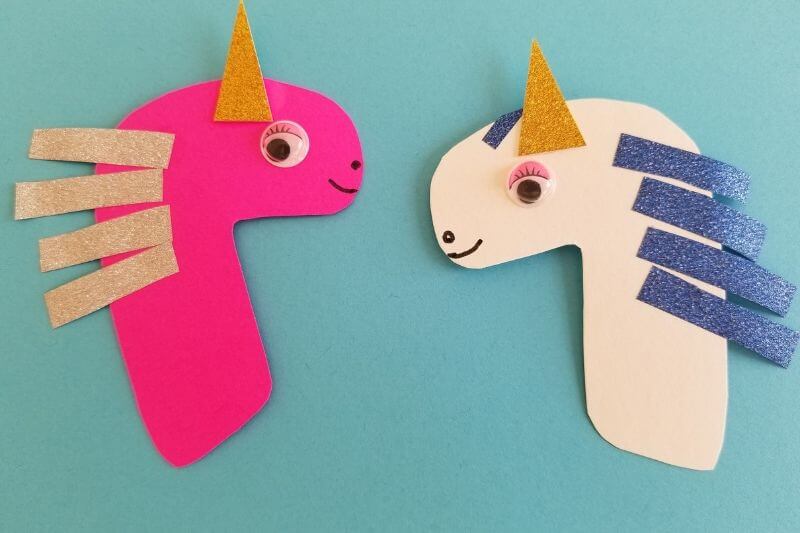
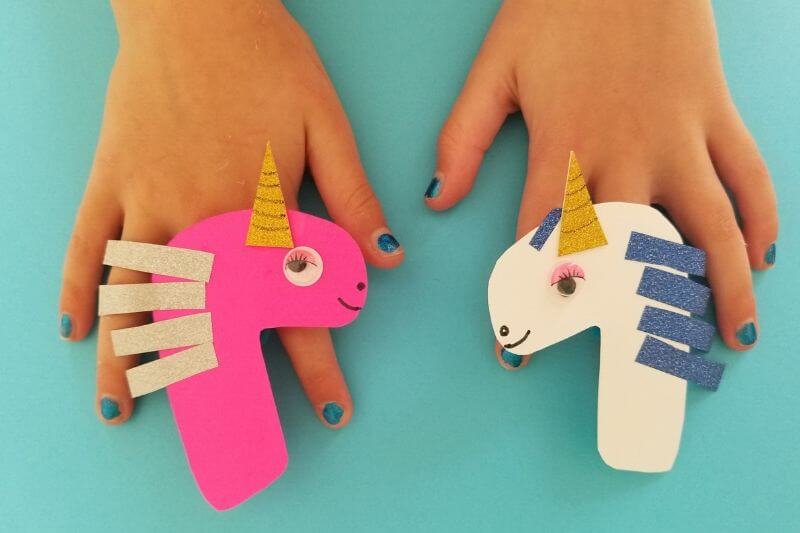
It should look something like the unicorns below.
Step 3: Give Your Unicorn Ring A Mane
We all know unicorns have a fabulous mane and that’s what we’re going to add next.
Take your glitter tape and cut 4 strips about 1 inch long and 1/4 inch wide.
You’ll want to place them on the unicorn’s neck sticking out. Check out the picture below for reference.
With the unicorn’s mane complete, you can give it little facial features at this point.
On the nose of the unicorn, draw a small mouth and a dot for a nose using the black marker.
If you want to get real fancy, add some swirl lines to the unicorn’s horn. Every unicorn lover knows they have twisty horns.
Step 4: Create And Attach The Ring
At this point, your unicorn ring is really starting to look good. Now, all we have to do is create the ring portion so your kid can start rocking this thing everywhere!
Take your pipe cleaner and cut it to a length that’s long enough to make a ring for your child’s finger.
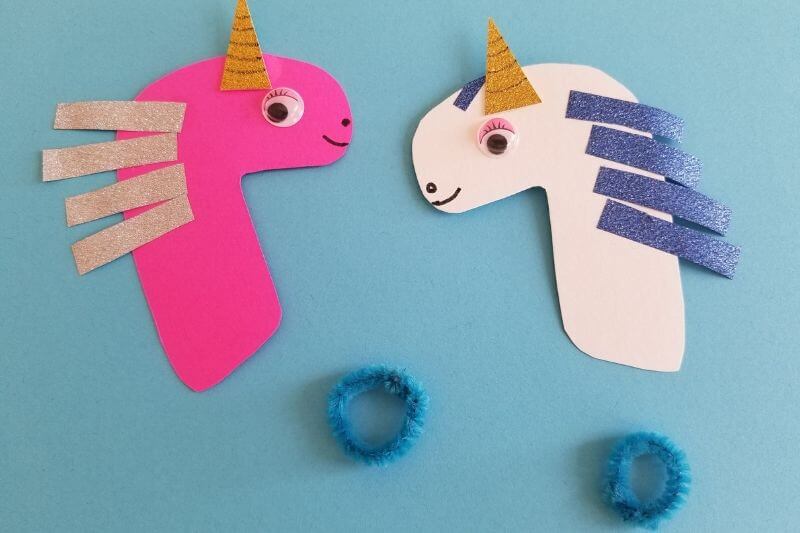
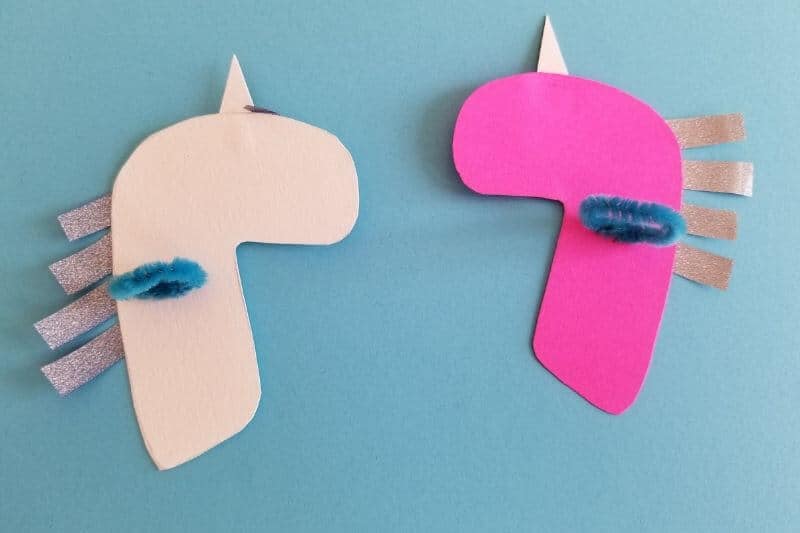
Once you have the rings cut to size and formed, it’s time to glue them to the back of your unicorn.
Take a little drop of glue and put it on the backside of the unicorn head right in the center. Stick your pipe cleaner ring in the glue and allow it to dry.
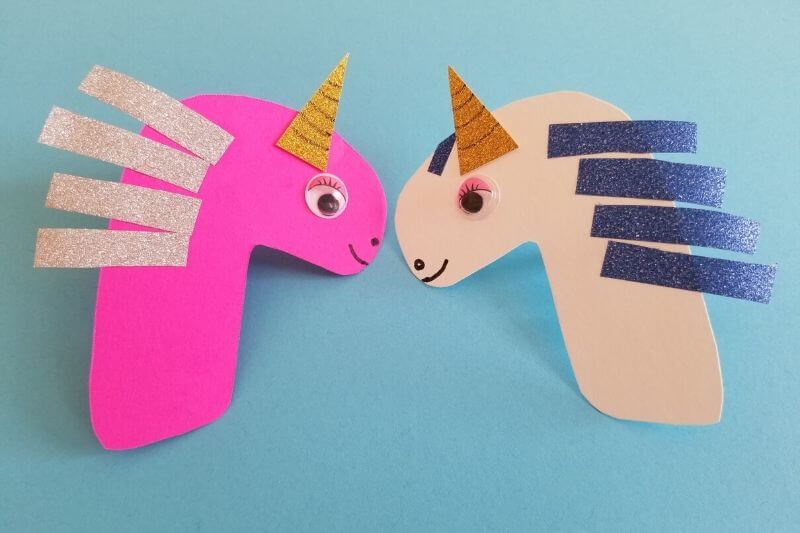
With the glue dry, your unicorn ring is ready to be worn!!
Check It Out:
This is a simple craft that you and your kid can work on together. I love these things because they’re easy and both our kids love them.
Heck, you might even want a matching ring to wear with your kids!
Unicorn Craft Ring- Summary
I hope you enjoyed this unicorn ring craft! If you complete the craft let us know in the comments below how it went.
If you loved this post, make sure you save it and follow us on Pinterest for more kid’s craft ideas!
Other Fun Crafts: