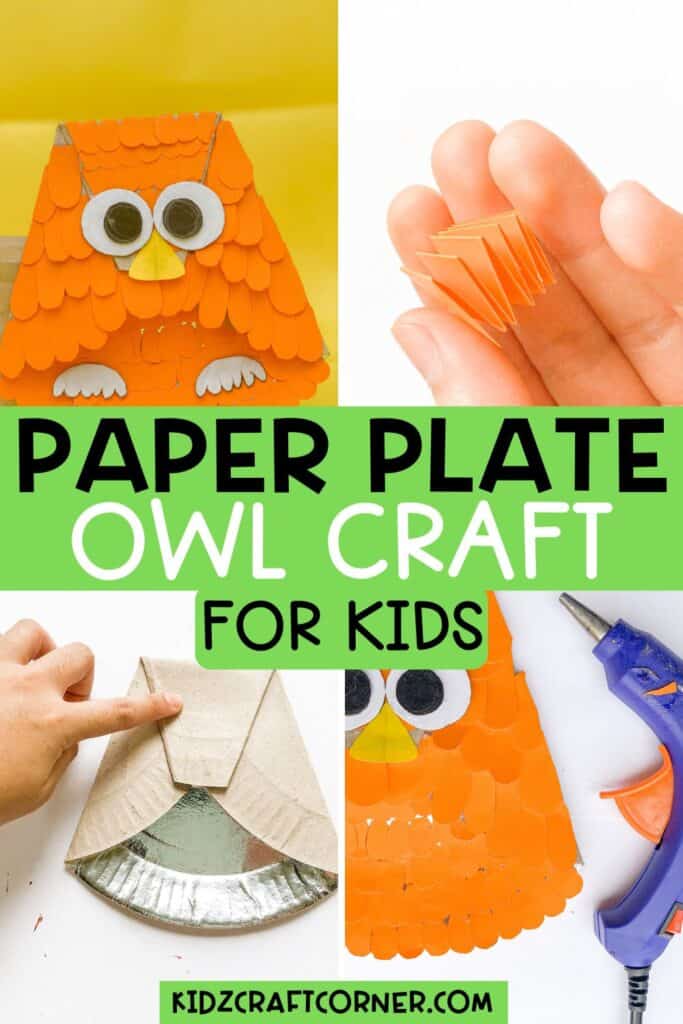
How to Make a Paper Plate Owl Craft
Looking for a fun and easy craft to do with your kids? Look no further than the paper plate owl! This simple project is perfect for kids of all ages, and it’s a great way to use up any extra paper plates lying around.
We will be giving you a simple step-by-step guide on how to make an adorable paper plate owl craft. This is a great project for kids and can be easily customized to reflect your child’s unique personality.
Notice: This post contains affiliate links. To learn more, read our Disclaimer Here.
Materials Needed For Paper Plate Owl
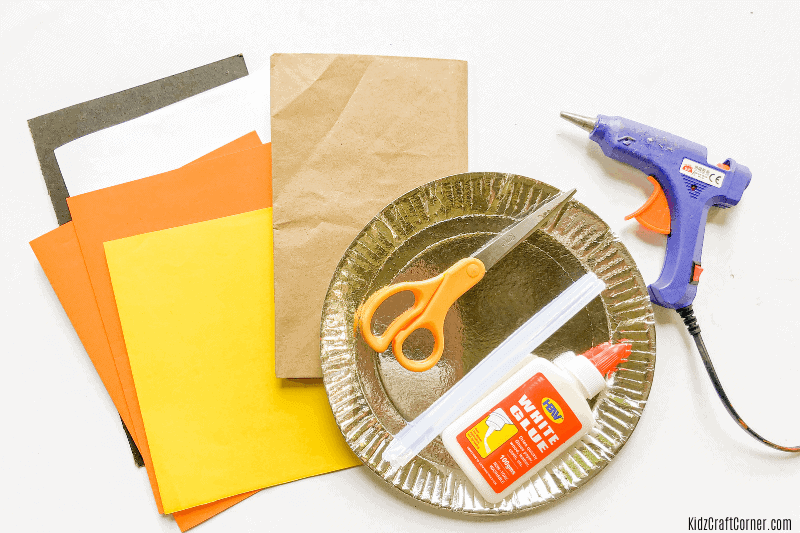
Below is a list of the supplies you will need in order to make your paper plate owl. Collect the items on the list and let’s get started!
–Paper plate: Any paper plate will work, but the cheap, flimsy ones work best!
–Colored paper: We used orange and yellow, but feel free to choose whatever colors you’d like.
–Illustration board: Illustration board is basically a hard piece of white cardboard. Feel free to switch it out with something similar if needed.
–Scissor: Grab a pair of kid-friendly scissors.
–Glue gun & stick: Glue gun works best however, for younger kids always stick to glue sticks. My 8-year-old is just now learning how to properly use a glue gun.
Tip: When working on this owl plate craft feel free to alter the craft as needed depending on your child’s age. My 8-year-old loved cutting out small feathers for her owl. My 5-year-old cut out much larger feathers that were their own unique shape.
Must try crafts:
- 20 Creative Nature Crafts For Fall (Your Child Will Love)
- 20 Wonderful Winter Nature Crafts For Kids
- Free Chore Chart Printable For Kids
- Free Printable Road Trip Games
Instructions For Your Owl Plate Craft:
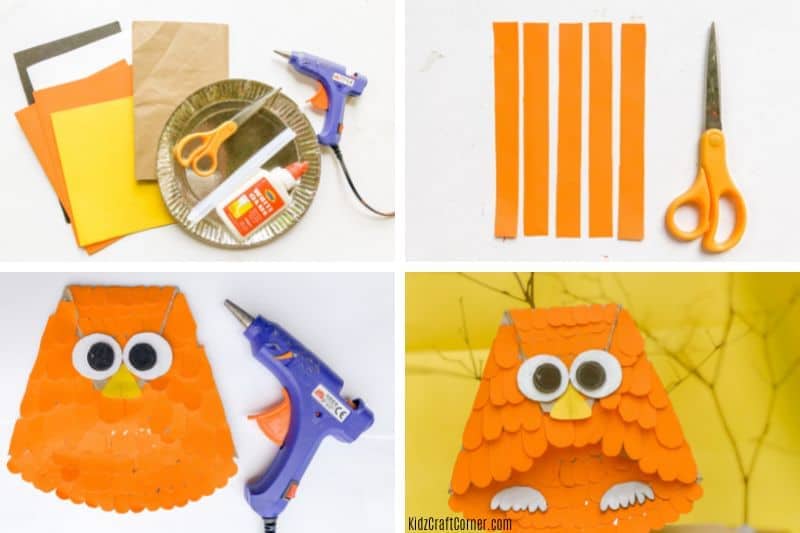
Step 1: Fold both sides of the paper plate in a slope position, looking like this (/ \).
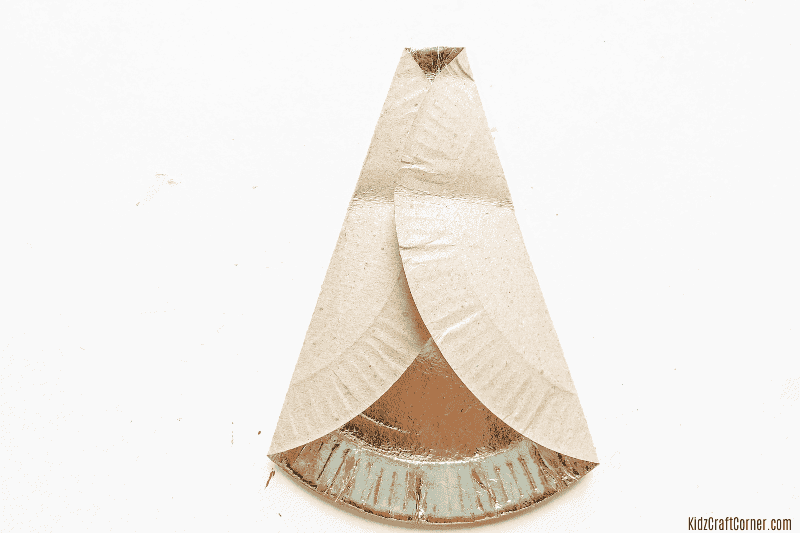
Step 2: Fold the upper part of the folded paper plate and use the glue gun to paste them together.

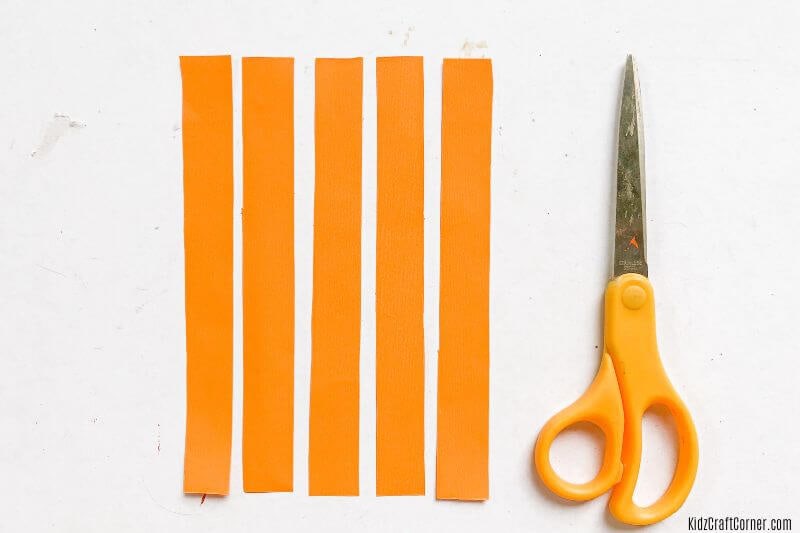
Step 3: Cut the orange-colored paper (15×2 cm) as much as you need. If you have a younger child doing this project, I recommend cutting these strips thinker so that the feathers are larger and easier to glue onto the owl.
Step 4: Fold it every 1 cm until it is all folded.
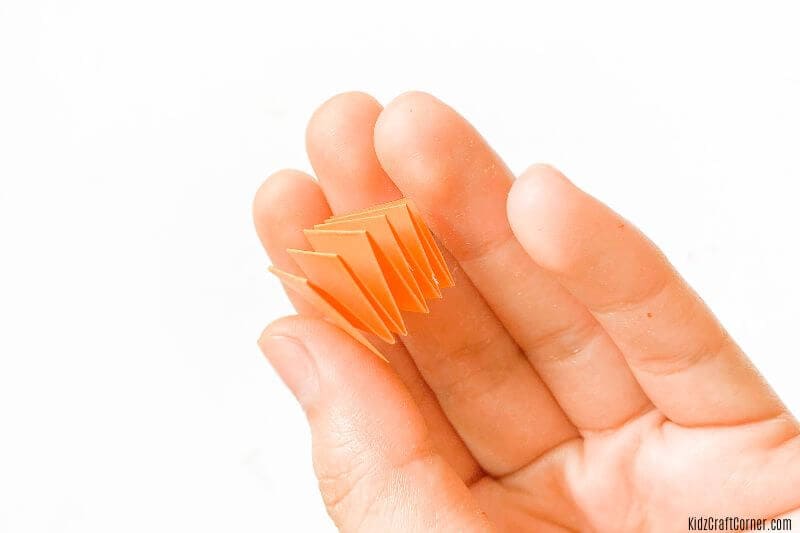
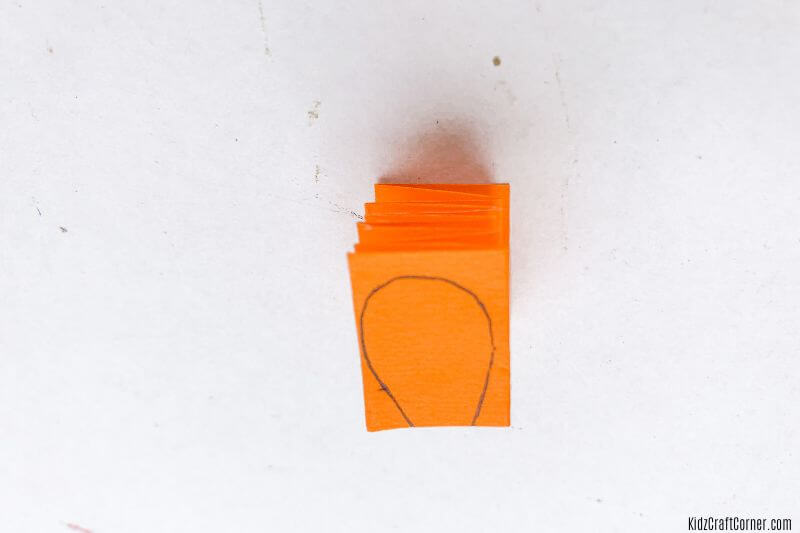
Step 5: Draw a small curve to it and cut. These will serve as little feathers.

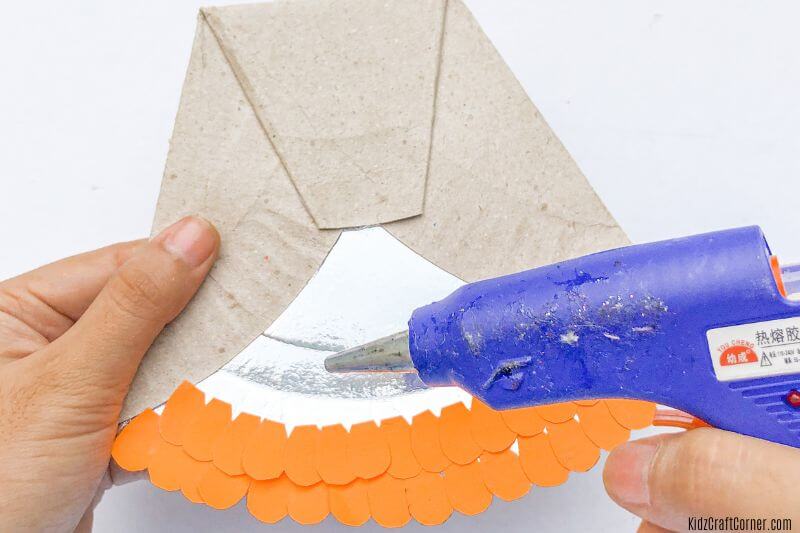
Step 6: Use the glue gun to paste these feathers into the shiny part of the folded paper plate and the head part. Start from the bottom to the top.
Step 7: Again, cut the orange-colored paper (15×4 cm) as much as you need and fold it every 2 cm until it is all folded. Draw a bigger curve twice the size of the first curve into the folded colored paper and cut.
Step 8: Use the glue gun to paste these feathers to the left and right parts of the paper plate.
Step 9: Cut circles from the illustration board. (2) medium size, (2) small size.
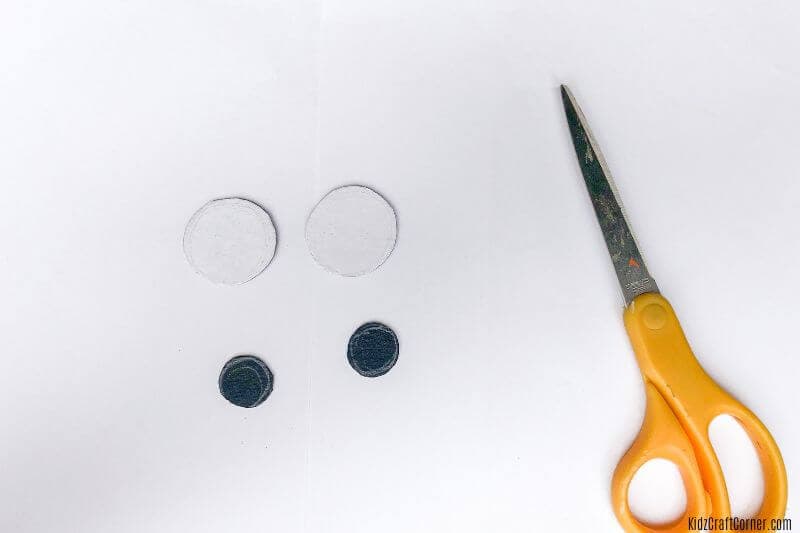
Step 10: Paste it together, creating a pair of eyes, and then glue it into the complete product.

Step 11: Cut a small triangle from the yellow-colored paper and paste it below the eyes.
Step 12: Cut (2) feet shaped from the illustration board and glue them to the bottom part of the product.

There you have your OWL PAPERCRAFT. You did it!
Tips:
- Be careful when using the scissors and the glue gun.
- Choose the proper materials to achieve the desired outcome.
- Let your creativity flow in your works!
- You’re free to add any designs you want.
Owl Paper Plate Craft Summary
Paper plate owls are a fun and easy craft project for kids young and old. They can be made in any color or pattern that you like, and they make the perfect decoration for a child’s art room.
If you’re looking for a quick and easy craft project to keep your kids entertained, give paper plate owls a try! Let us know in the comments below how your owl turned out.
For more creative kid crafts and activities, be sure to follow us on Pinterest!
Fun crafts and activities to try: