Fun Rainbow Paper Craft for Kids
The Perfect Rainbow Craft for Kids
Are you looking for a fun activity to keep your kids’ boredom at bay? Look no further than this rainbow paper craft for kids! Not only is it easy to do, but your kids will be absolutely riveted by how colorful and creative the end result looks.
Plus, not only is it a great way to bond with your little ones while also teaching them a few lessons on design and color theory, but when they hang up their finished masterpiece on the wall, they get to cherish the time of fun that went into making it forever.
So what are you waiting for? Grab some scissors, glue sticks, and brightly colored construction paper — it’s time to start crafting!
Notice: This post contains affiliate links. To learn more, read our Disclaimer Here.
Get ready to spread some color and joy around the home! This rainbow craft activity is perfect for young kids as it serves double duty – a simple art project plus an opportunity to learn their colors.
Plus, with most of the supplies you’ll need already in your house, this one’s super quick and easy – what more could you ask for? Get creative with rainbows today!
Rainbow Paper Craft Details:
Age Group: 2 – 6 yrs
Difficulty: Easy
Time To Complete: 20 – 30 min
Supplies To Make Paper Rainbow Craft
Let’s get ready to make a colorful paper rainbow! Gather the supplies from this list, and you’ll be set to create your own masterpiece.
It’s almost like having an art class in your home—let the fun begin!
Here’s what you’ll need to complete this rainbow-themed craft successfully:
> Colored Paper – 1 page for each color of the rainbow
> Cotton Balls – 8 to 10 needed
> Scissors
> Free Rainbow Template (below)
Grab your rainbow template below. We’ll send you the FREE template instantly to your email. Print it out, and let the fun begin!
How To Make The Rainbow Paper Craft
Alright, let’s get to it. It’s time to show you how to make this rainbow paper craft.
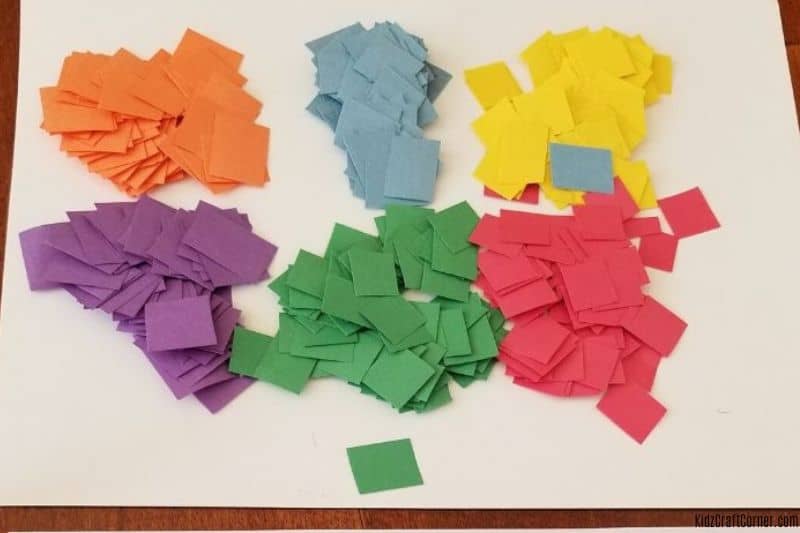
Step 1: Gather and Organize Your Supplies
Crafting is a great way to spend quality time with your children and get their creative juices flowing. However, you’ll have to do some prep work before you can start this craft project.
Start by cutting the colored construction paper into squares that are 1 inch by 1 inch or smaller. Make sure you cut enough to cover the length of the rainbow template. You’ll need more of the red and less of each color as you move down the colors of the rainbow.
Step 2: It’s Time to Craft
Once you have finished cutting out the squares, your child can begin this fun rainbow project.
You can start by having your child practice their color matching by creating piles of each color construction paper they will need for their rainbow.
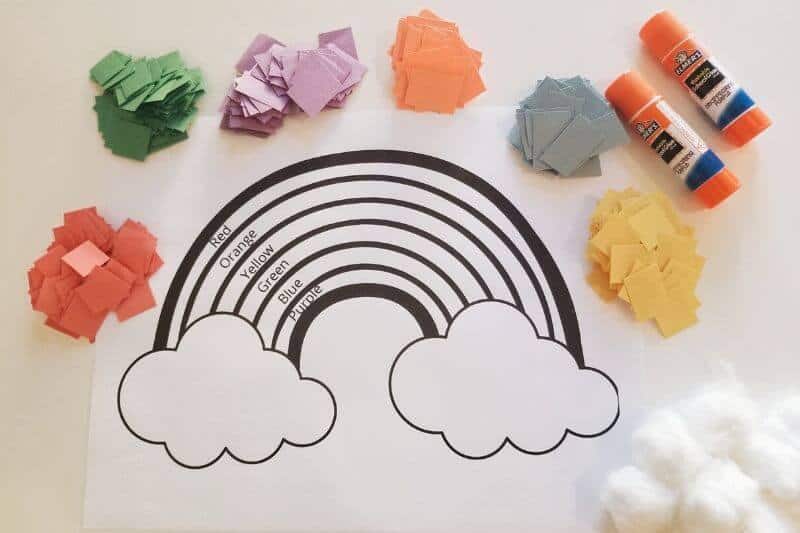
If your child can read, have them figure out where each color belongs on the rainbow. If they aren’t reading yet. You can glue on one square for each rainbow color for guidance.
Step 3: Glue and Stick
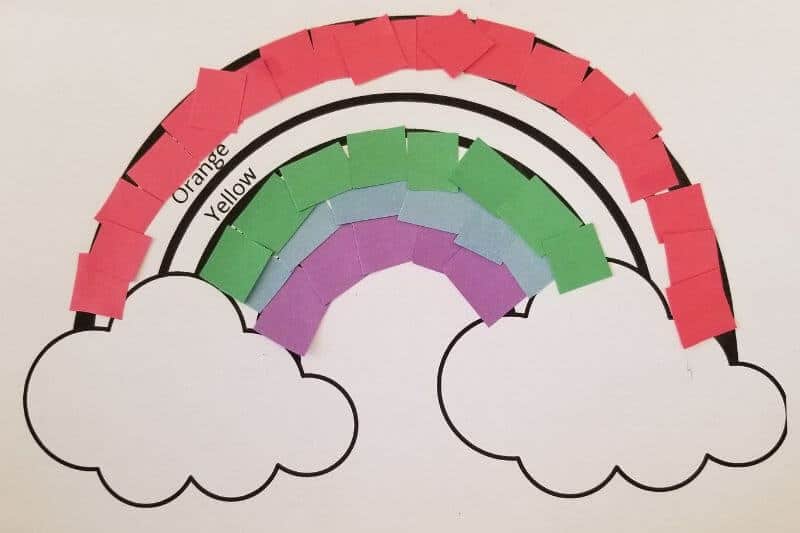
Now, it’s time to start gluing the paper squares to the template.
You can either glue each square of paper and then place it on the template or glue one whole row at a time on the template and then stick the squares to it.
You can start anywhere on the rainbow that you like. My daughter started with red and then jumped to purple-blue and green.
Let your child’s creative mind decide where to start!
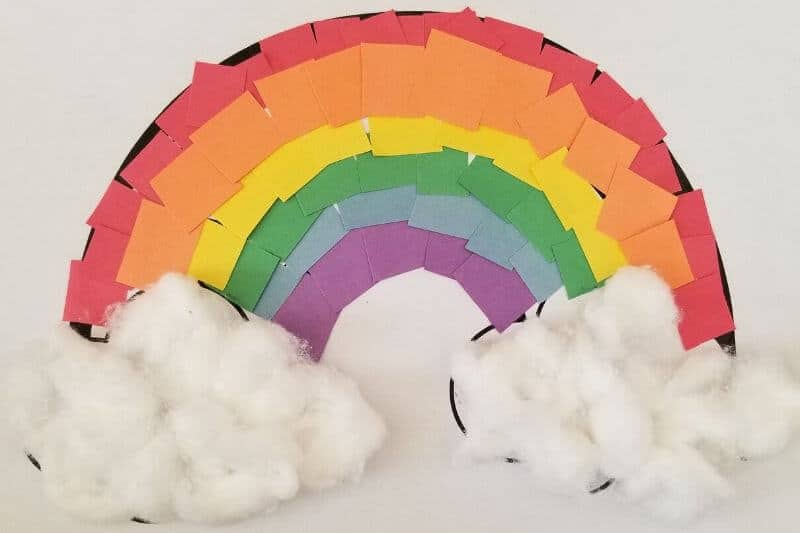
Step 4: Add the Clouds
Once you have all the colors on the rainbow, it’s time to add the clouds! Take the cotton balls and rip them in half. This will give them a nice fluffy cloud look.
Place some glue on the template’s cloud, then stick the cotton balls on the paper. Once you have the clouds on the template, you’re all done!
This simple paper rainbow craft is a great way to spend time with your children and help them express their creativity.
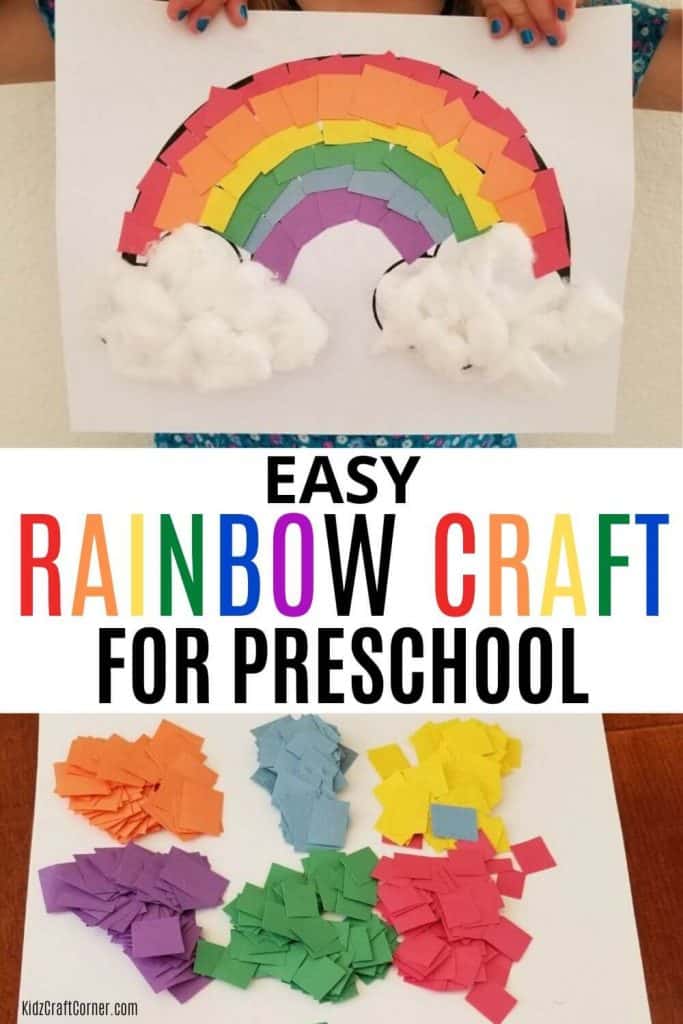
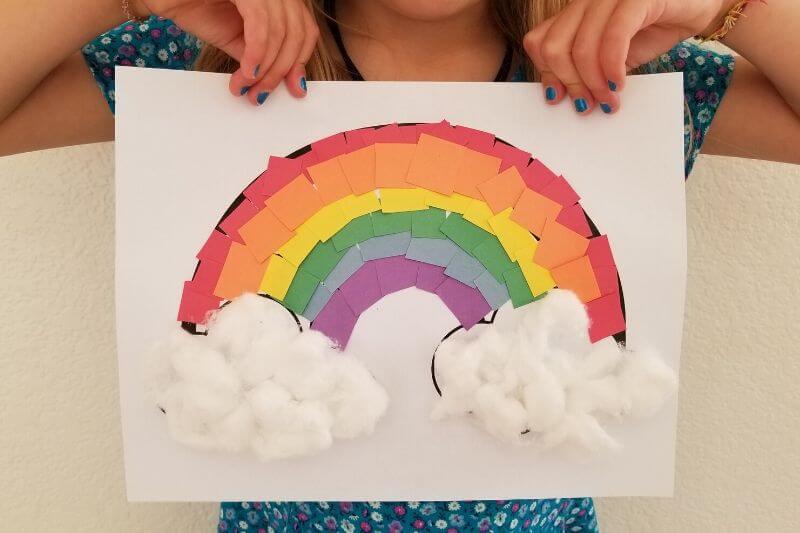
Easy Rainbow Craft Finished Look
Here’s how my daughter’s craft turned out!
Give it a try today!
If you liked this craft, share it with others, and follow us on Pinterest for more kid’s craft ideas!

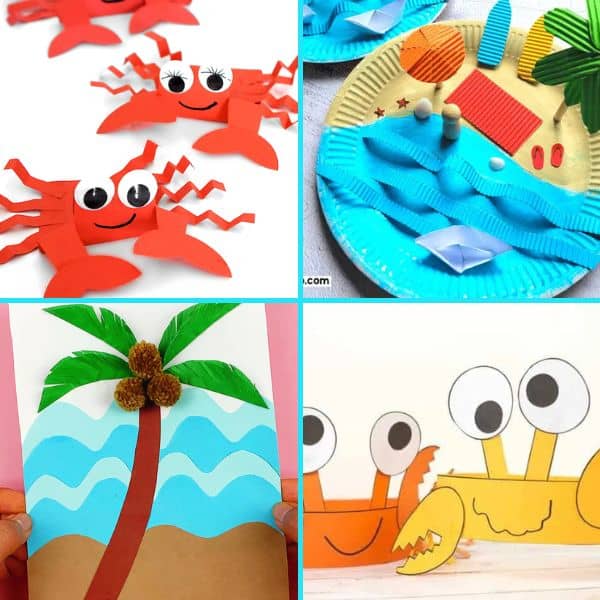
Fun craft ideas: