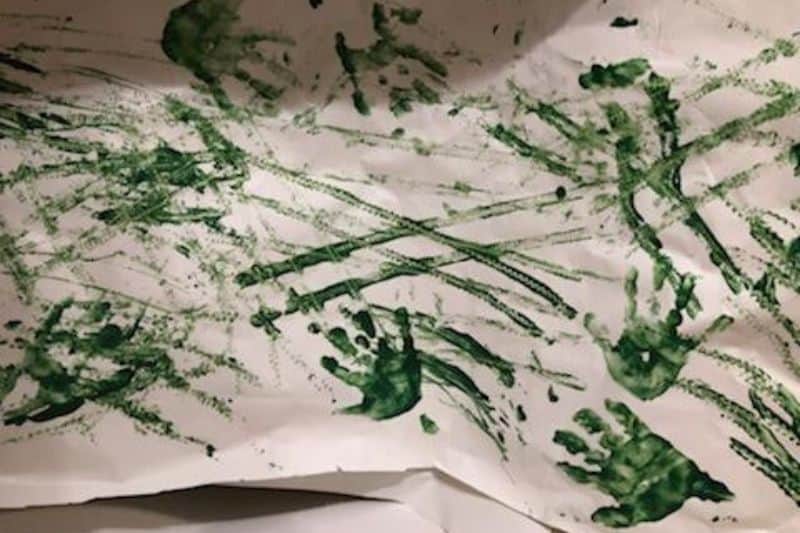
This Handmade Wrapping Paper Is The Only Way To Wrap A Gift
Is your child at the age where they want to be involved and help with EVERYTHING! Especially things that make messes!
Well, I finally came up with a way to involve them in the gift-giving process, and in a way that they can make a mess.
The best part is that you can use what they create, and the person who receives it will get a one of a kind gift.
HOMEMADE WRAPPING PAPER!!!!

Notice: This post contains affiliate links. To learn more about our affiliate partnerships, read our Disclaimer Here.
Wrapping Paper Activity Details:
Age Group: 1+ yrs
Difficulty: Easy
Time To Complete: 15 minutes
You’ll love this simple wrapping paper alternative for wrapping any gift. It’s really such a unique way to give a gift any time of year.
More fun crafts:
- Blow Painting With Straws: Fun Rainbow Project Any Age
- Painting With Toy Cars Just Became The Best Kept Craft Secret
- How To Make Colorful Puffy Sidewalk Paint In Under 5 Minutes
- 3 Creative And Easy Projects To Do With Blue Painters Tape
Supplies Needed For Handmade Wrapping Paper Activity
The supply list for this activity isn’t very long. You probably have some if not all of these items lying around the home.
Here’s what you’ll need to make your very own homemade wrapping paper:
- Paints of various colors (I used Tempera, non-toxic and washable!!!)
- Cookie cutters, play dough cutters, toy trucks, or just your child’s handprints
- Glitter (optional)
- Large paper, paper bag, or Brown packing paper from all those Amazon packages
FYI: this custom made wrapping doesn’t just apply to the holiday season! I plan to use this for birthday wrapping paper, Valentine’s day gifts, Father’s and Mother’s Day, Easter, and even treat bags on Halloween!!!
Switch up the colors a bit, and the options are ENDLESS!!!!
Create Your Own Wrapping Paper With These Easy Steps
This craft is a great way to introduce colors and shapes, sensory experiences, imagination, and creativity. For younger children, parents can point out the different patterns of different car tracks or play-dough stamps.
I found that the more I engaged in the activity with my son, the more fun and interaction he had with the activity.
For the 3 to 5-year-olds helping with this project, talk about the colors or shapes they use, or maybe they could try out a pattern like a star, Santa, star, Santa.
Let’s get started with the craft!
Step 1: Gather Your Supplies
Head to your craft closet, and let’s get started. Make sure to pick out cookie cutters and toy trucks that you don’t mind getting paint on.
Rummage your house for paper to use. The bigger the sheet you can find, the better. Like I mentioned above, using packing paper works the best.
Step 2: Grab Your Paint And Get To Work

There is no right way to do this activity. Let your child use a paintbrush to paint toy cars, cookie cutters, or whatever it is you have on hand.
If your child is younger, you can always do the painting for them; however, the mess is half the fun.
Then let your child go to town. Adding stamps and rolling their toy cars in the paint. My favorite thing to do is add personalized touches such as handprints.

Handmade Gift Wrap Summary
One thing for sure is that the more praise you give your children about their work, the prouder they will be to give their handmade gift-wrapped present to their loved ones. Even my son, who isn’t even two years old yet, enjoyed pointing out that they were his handprints on the gifts!

If you enjoyed this activity, make sure to save it, and follow us on Pinterest for more kid’s craft ideas!
My top picks:
Related articles: