Salt Dough Fingerprint Keepsake Heart (The Perfect Valentine’s Day Craft)
Valentine’s Day is just around the corner, and this week, I was hit by the “how quickly my kids are growing up.” I have a new one-month-old in the house, and now my almost two years old seems HUGE!
I am left wondering when he grew up. So, this Valentine’s Day, I wanted to remember how little they are this year. So I decided to make Salt Dough Fingerprint Keepsake Hearts for each of my littles.
They turned out so cute that I might make a couple more for grandparents, and the hearts were so easy to create. My son enjoyed playing with the excess. (He loves Playdoh)

Notice: This post contains affiliate links. To learn more, read our Disclaimer Here.
Fingerprint Keepsake Heart Activity Details:
Age: Any
Difficulty: Easy
Time to complete: 15 minutes to create the dough, 1 hour and 30 minutes of baking time depending on the thickness of the craft
If the heart craft still seems doughy or soft at the end of baking, continue baking until it is hard.
Supplies Needed For This Salt Dough Fingerprint Activity:
- ½ cup of salt
- ½ cup of flour
- ¼ cup of warm water
- Ribbon or string
- Rolling pin
- Cookie sheet or baking dish
- Heart-shaped cookie cutter (unless you or your child would prefer to freehand the shape)
Optional supplies:
Food coloring-optional (you can always paint the heart after instead)
Step 1: Gather Supplies
Your first step is to gather everything on the supply list above. Make sure that you have all the necessary supplies before starting your craft project.
Step 2: Combined The Ingredients
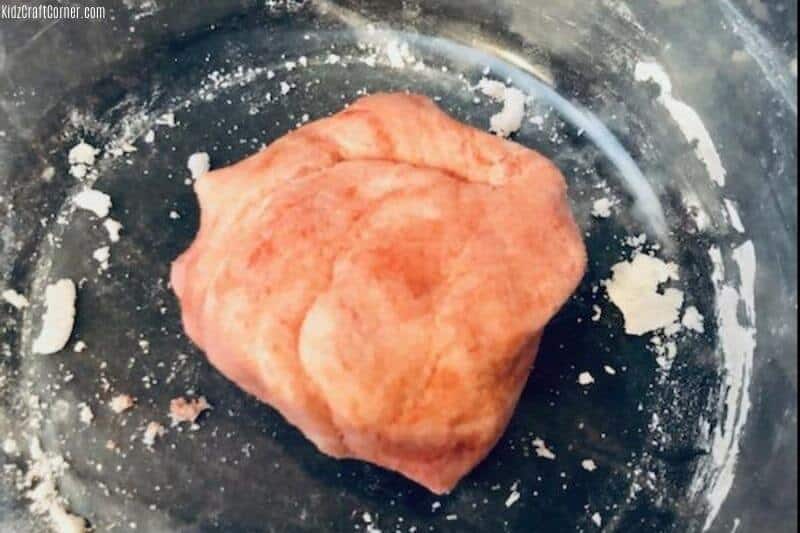
Combine the salt, flour, warm water, and food coloring (if you use it). I added six drops of red food coloring to make pink hearts. Put a little flour on your hands to keep the dough from sticking to them, and combine until it is Play-Doh. It will have a bit more of a grainy feeling than Play-Doh.
My son enjoyed helping me dump the ingredients together and mix them. He used the spoon to stir instead of his hands until the dough formed. He loves pretending to cook, and let’s be honest… it saved me a mess this time.
Step 3: Preheat The Oven
Once the salt dough is mixed well, preheat your oven to 200 degrees F.
Related Valentine crafts:
- Popsicle Stick Valentine Heart Craft for Kids
- Heart Fish Craft (Perfect Kids Craft For Valentine’s Day)
- Fun Valentine Puppy Heart Craft For Preschoolers
- 30 Free Printable Valentine’s Cards for Kids
Step 4: Create The Salt Dough Heart
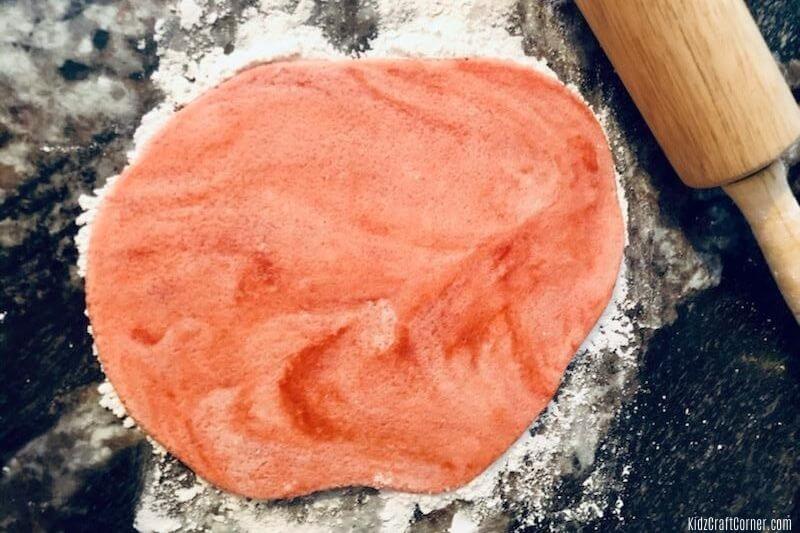
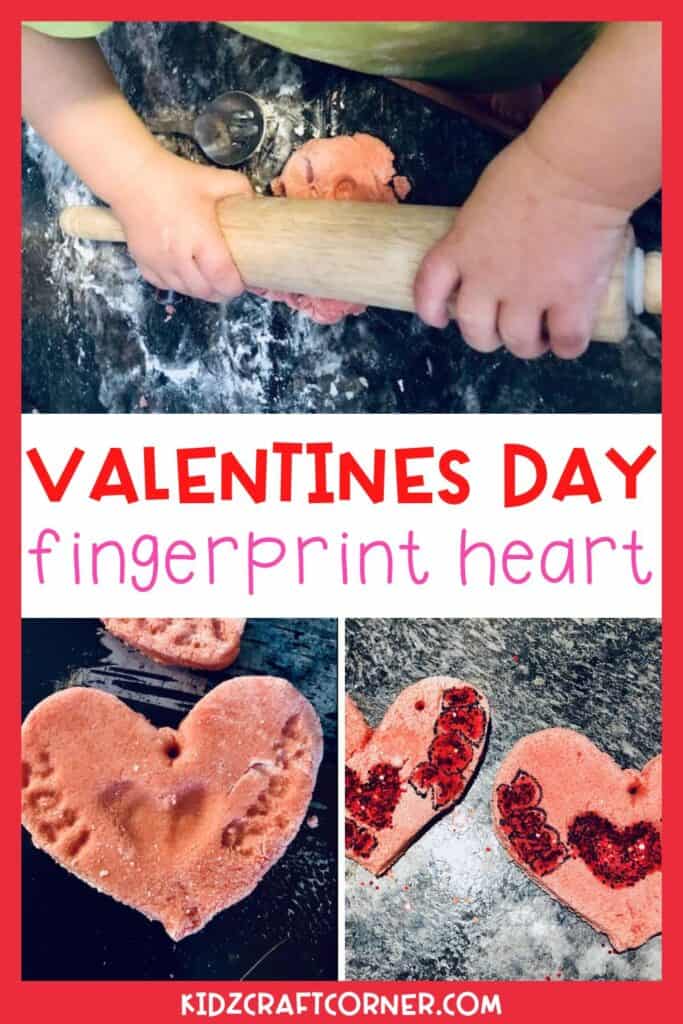
Use a rolling pin to flatten your dough out. I made my salt dough hearts about a half-inch thick. If you make your craft thicker, it will take additional baking time.
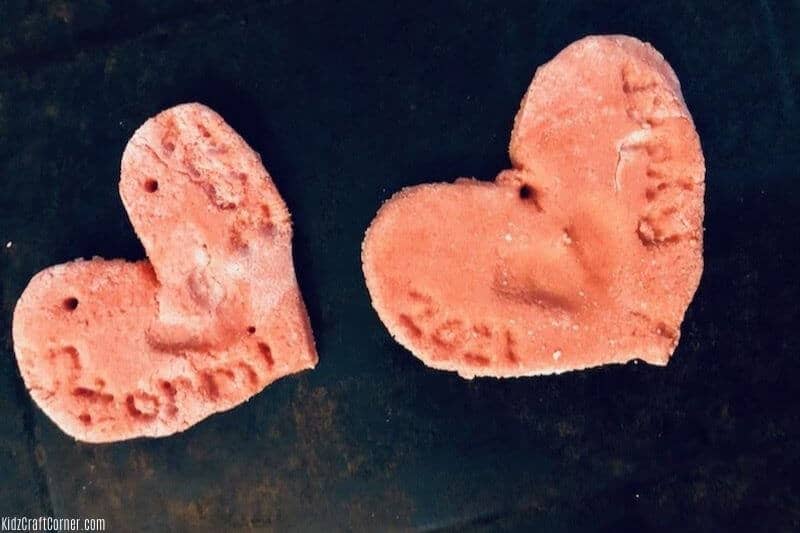
Use the cookie cutter or freehand the heart shape. I had enough dough to make three hearts. Next, have your child imprint their thumbs into the center of the dough. I had my kiddos angle their fingerprints to create a little fingerprint heart in the center.
I also used a pencil to indent each child’s name and year on the front. Older kids can decorate their hearts or make designs/imprints; however, their imagination moves them.
Save any kind of painting until after they bake. Also, don’t forget to place a hole or a couple of holes in the dough for string or ribbon so you can hang them up or attach them to a beautiful flower bouquet.
Step 5: It’s Time To Bake
Place the dough on the baking sheet and bake in the oven for an hour and a half.
Be careful when you use your spatula to remove the hearts.
I found that going slow and gently popping them off the pan without cracking or breaking them.
If your hearts are thinner, you will want to remove them from the oven earlier. Check the back of the craft. If it seems soft or still doughy, place it back in the oven with the backside up and continue baking until solid.
Step 6: Let Them Cool
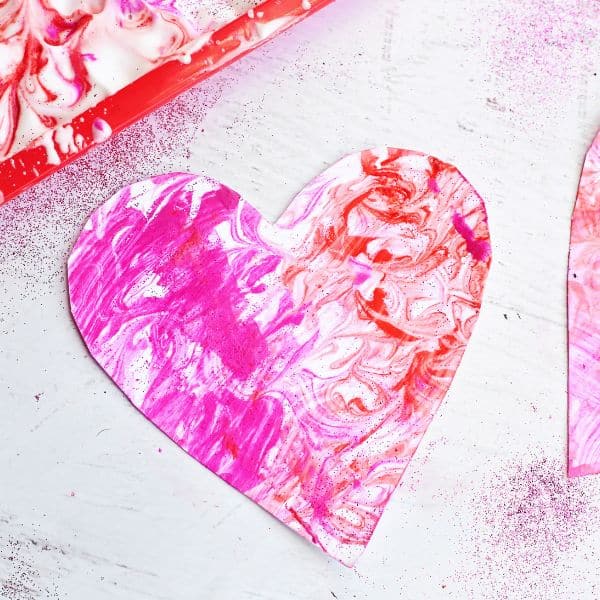
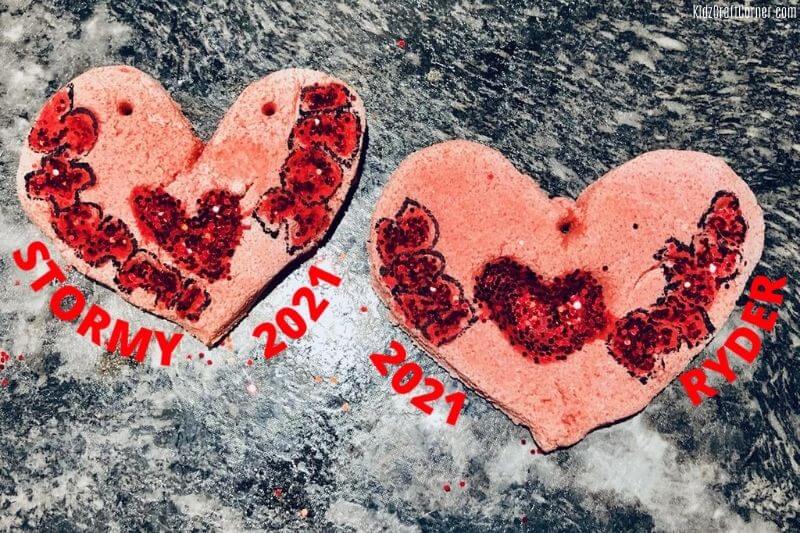
Let your fingerprint heart cool. Then, you and the kids can paint, glue, glitter, and decorate them to your heart’s content. Add a string or ribbon. I like filling the finger heart with glue and adding glitter to make the little heart really pop!
My son had fun playing with the excess dough, and it was fun to see him pushing his finger imprints into his own dough (like we had just done in the heart craft).
He also liked pretending to be baking cookies for me and practicing rolling with the rolling pin. My daughter, who is only a month old, only participated in the imprint part, but I am over the moon to have this keepsake of hers.
Older kids can be creative by adding twists, shapes, decorations, paint, glitter, or jewels to their heart-shaped craft.
If you enjoyed this craft, save it for later and follow us on Pinterest for more fun ideas.
Other fun crafts:
- Popsicle Stick Valentine Heart Craft for Kids
- 23 Valentine’s Day Paper Crafts for Kids
- Make Your Own Unicorn Puppet In 4 Easy Steps
- The Rainbow Paper Craft Your Kids Will Obsess Over