Toilet Paper Roll Heart Stamp Card
Are you looking for a cute Valentine’s Day card that your child can create with craft supplies you already have at home?
Look no further! You and your child can create these adorable Valentines with minimal materials. This activity was easy enough for my toddler to participate in and versatile enough for older children as well.

Notice: This post contains affiliate links. To learn more, read our Disclaimer Here.
Heart Stamp Activity Details:
Age: 1+
Difficulty: EASY
Time: 10 minutes
Time may vary according to your child’s interest, creativity, and how many cards they make! We made about four cards in a half-hour, and if my toddler hadn’t started finger painting on his face, we might have made more!
Other Fun Valentine‘s Day Crafts:
- Heart Fish Craft (Perfect Kids Craft For Valentine’s Day)
- How To Make Fingerprint Art (The Perfect Valentine’s Day Card)
- Make Your Own Unicorn Puppet In 4 Easy Steps
- Fun Valentine Puppy Heart Craft For Preschoolers
Materials Needed For This Toilet Paper Heart Stamp
This craft supply list is minimal, which is one of the reasons which makes it so great. All of the crafting supplies you probably already have at home. But if you don’t, here is what you’ll need.
Here’s what you’ll need to make this toilet paper heart stamp:
- Construction paper (I like the thickness of it for this project)
- Paint- Pink, Red, White, Purple (I used Tempera)
- Toilet paper roll
- Hair tie or rubber band
- Markers (to write a message)
Optional: GLITTER and scotch tape
Create Your Toliet Paper Roll Heart Craft
Step 1:
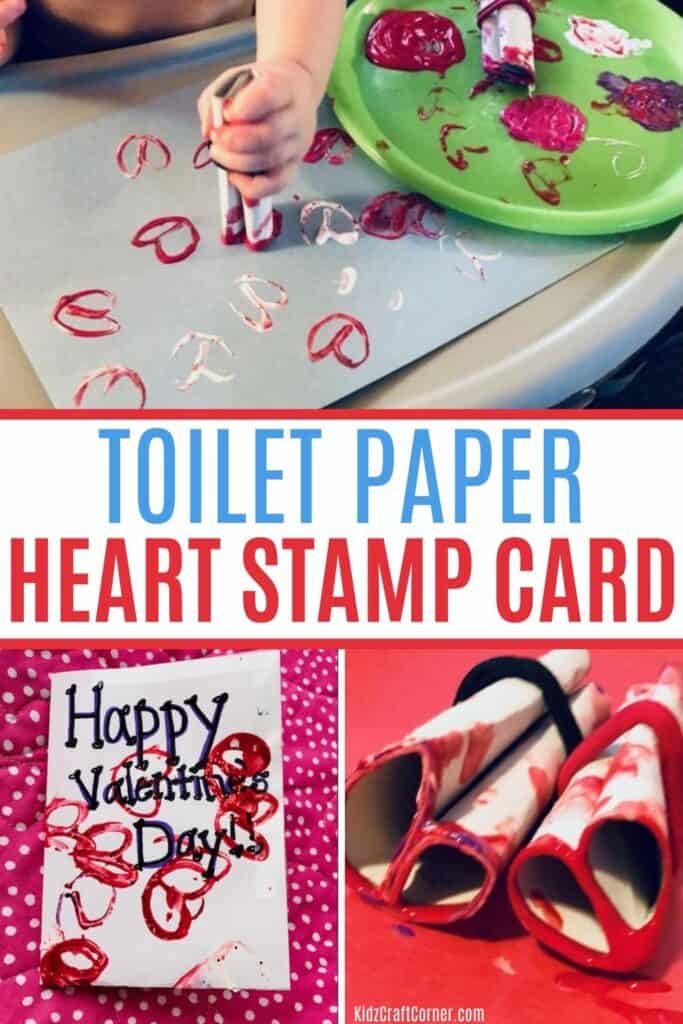
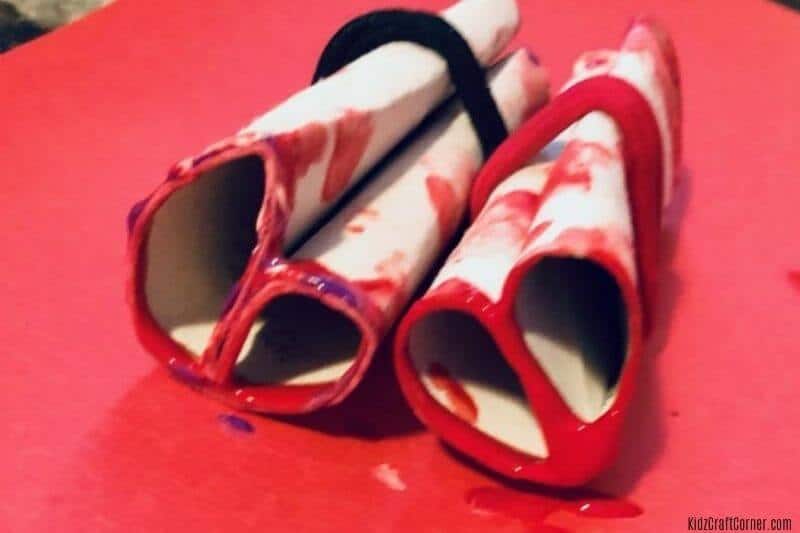
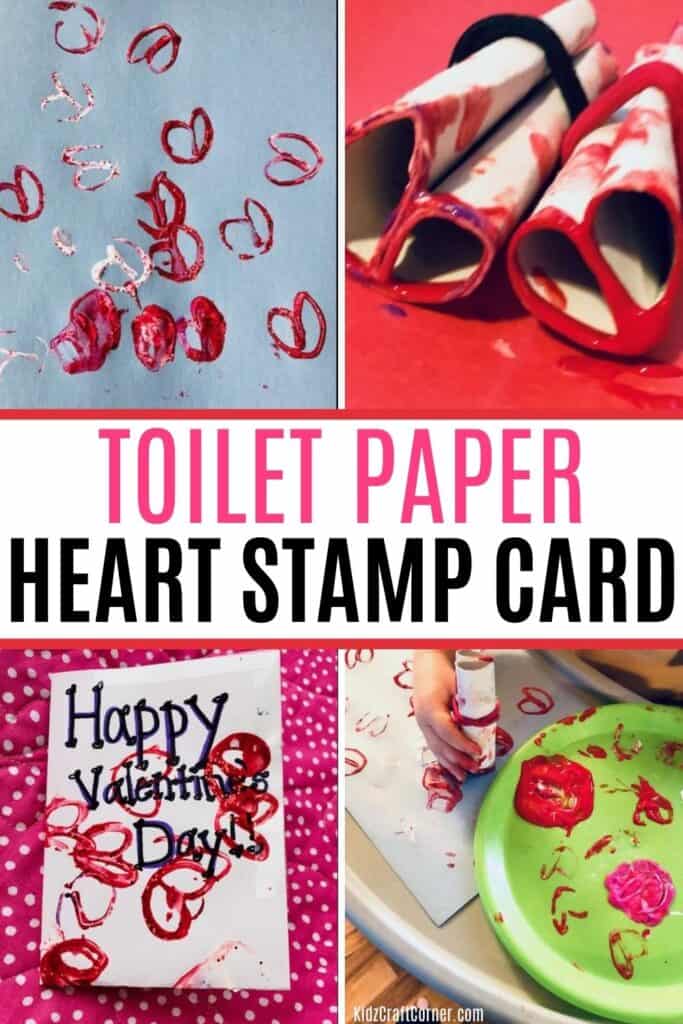
Gather materials. Take the toilet paper roll and push an indent in on one side to create a heart shape. Secure it with a hair tie.

Step 2:
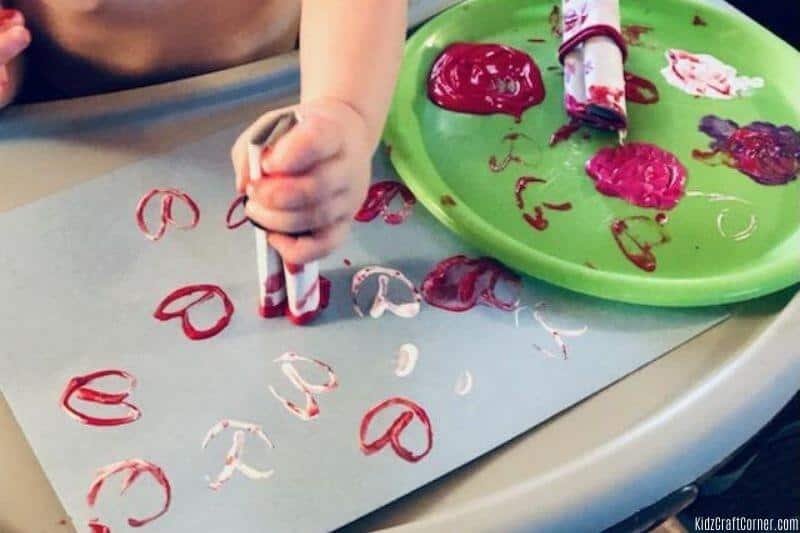
Dip the heart shape into whichever color paints you chose. Stamp on the piece of paper.
Older children’s paper will probably be more organized than my toddler’s, but the creation was definitely HIS! If you are going to use glitter, sprinkle on the hearts and paper before the paint dries.
We used red glitter and lightly sprinkled it on the paper. Then set the paper aside to let the paint dry.

Step 3:
Once the paint is dry on the paper, fold in half (the hamburger way), then fold in half again. So that the colors/paint is on each part of the card. I used scotch tape to tape the edges of the card.
Step 4:
Add your message and extras to the card for added creativity.
If you enjoyed this craft, make sure to save it for later and follow us on Pinterest for more fun ideas.

Related articles:
- Make Your Own Unicorn Puppet In 4 Easy Steps
- The Rainbow Paper Craft Your Kids Will Obsess Over
- This Handmade Wrapping Paper Is The Only Way To Wrap A Gift
- Blow Painting With Straws: Fun Rainbow Project Any Age
Must have art supplies:


