How To Make Puffy Paint With Shaving Cream
Are you searching for a fun and creative activity to do with your kids? Making puffy paint is a great way to spend quality time together while also encouraging their imagination and artistic expression.
This simple and inexpensive DIY project is perfect for kids of all ages, and the end result is a textured masterpiece that they will be proud to display.
In this blog post, we’ll provide a step-by-step guide on how to make puffy paint with your kids, along with some tips and tricks to make the process even more enjoyable. So gather your supplies and get ready to unleash your creativity!
Notice: This post contains affiliate links. To learn more, read our Disclaimer Here.
Supplies Need To Make Puffy Paint
To make puffy paint, you don’t need a lot of supplies. In fact, you probably already have most of them in your home!
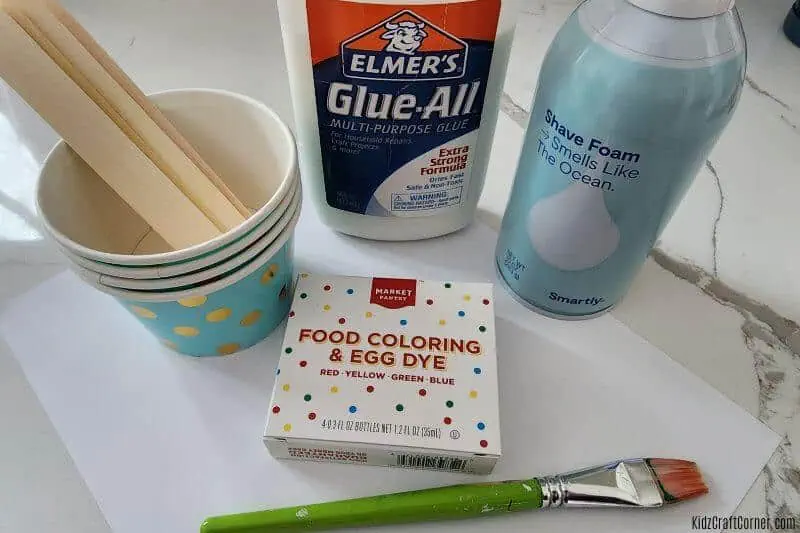
Here are the supplies you’ll need to make this puffy paint recipe:
- Foam shaving cream
- White Elmers glue
- Food coloring or liquid watercolors
- Mixing bowls or cups
- Stirring stick or popsicle stick
- Paintbrushes
- Paper or canvas to paint on
That’s it! Now that you have your supplies let’s start making some colorful and textured artwork!
Other fun crafts:
- How to Make Sensory Bottles
- How to Make Puffy Sensory Sidewalk Paint
- Fun Baking Soda and Vinegar Experiment For Kids
- Creative Ice Cream Cone Craft
How to Make Puffy Paint with Shaving Cream
Are you ready to make DIY puffy paint? Follow the steps below to get started!
Step 1: Add glue
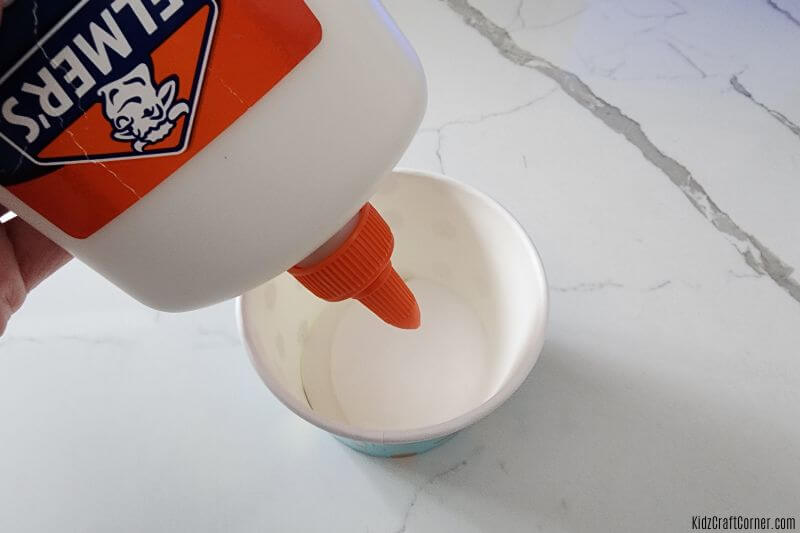
Great, let’s get started! The first step to making puffy paint is to add Elmer’s glue to your cup or mixing bowl. Depending on how much puffy paint you want to make will depend on how much glue you add.
We made a small cup full. You can see in the picture below I only added enough glue to cover the bottom of the cup.
Add more glue if you wanted to make more than a small cup full. And you can play with the consistency later.
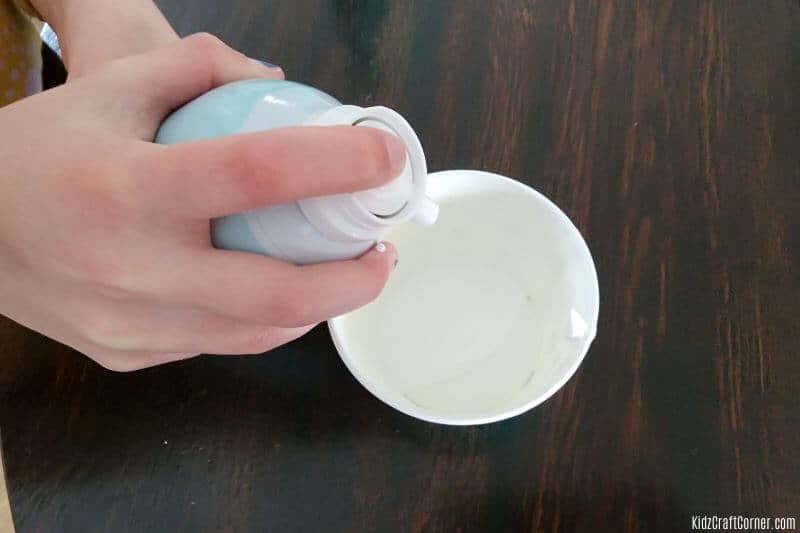
Step 2: Add shaving cream
Next, fill the rest of your cup with foaming shaving cream. It’s important to note that the shaving cream will expand when mixed with glue, so start with a small amount if you’re unsure how much you need.
Once you’ve added the shaving cream, you can move on to the next step!
Step 3: Add food coloring
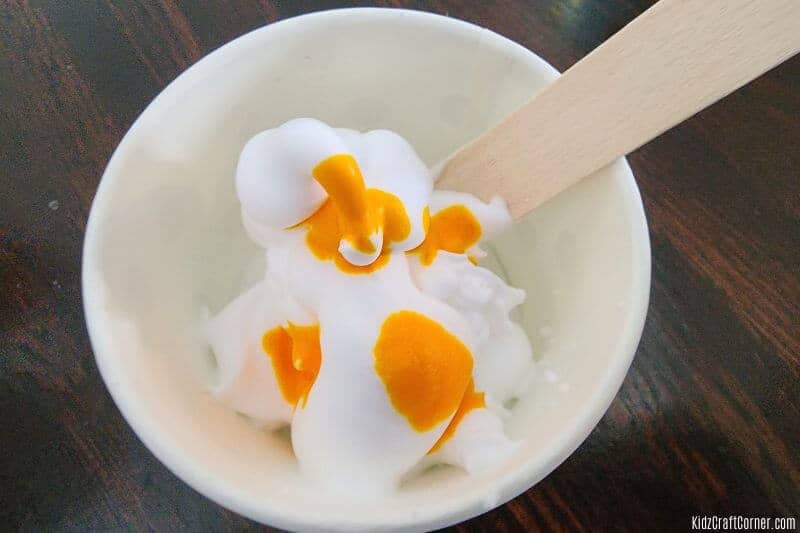
Once you have your shaving cream and glue mixture, it’s time to add some color. Add a few drops of food coloring or liquid watercolors to the mixture and stir until the color is evenly distributed.
You can add as much or as little color as you like, depending on how vibrant you want your puffy paint to be. Remember that the color may lighten a bit as the paint dries, so you may want to add more color than you think you need.
Step 4: Mix up your puffy paint ingredients
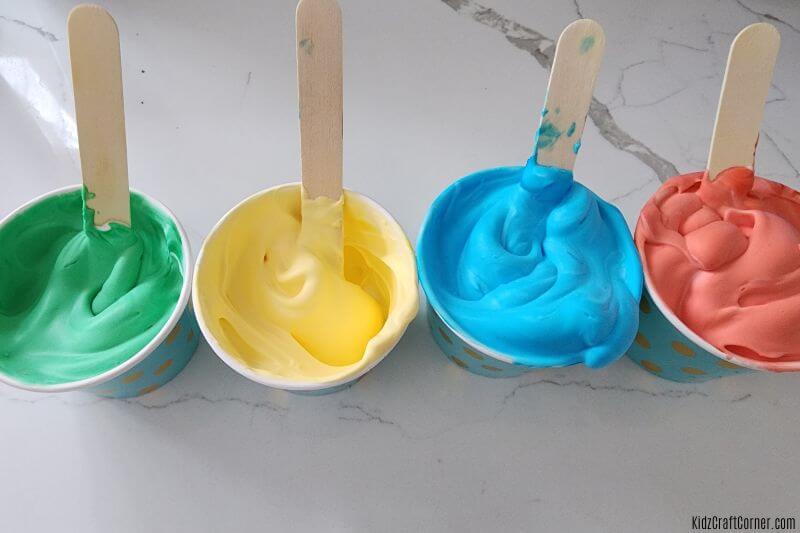
If you want to make multiple colors, you can divide the mixture into separate cups or bowls and add different colors to each one.
Once you’ve mixed in the color, use a spoon or popsicle stick to gently stir the mixture until it’s smooth and fluffy. Be careful not to stir too vigorously, as this can cause the mixture to become too runny.
Now, your puffy paint is now ready to use!
Step 5: Start painting with your shaving cream puffy paint!
Now the fun part! Start painting with your shaving cream puffy paint! Dip a paintbrush into the mixture and apply it to your cardstock paper or canvas.
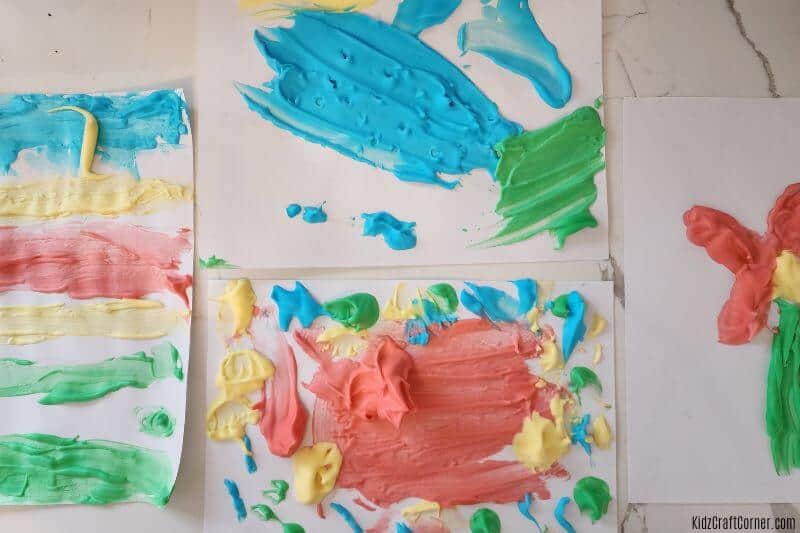
The puffy texture of the paint will add a unique and tactile element to your artwork. You can use the paint to create all kinds of designs and patterns or simply let your imagination guide you.
Experiment with different colors and let your kids create a truly one-of-a-kind masterpiece. Once you’re finished, let the puffy art dry completely before displaying it.
And that’s it – you’ve successfully made puffy paint and created a work of art with your kids!
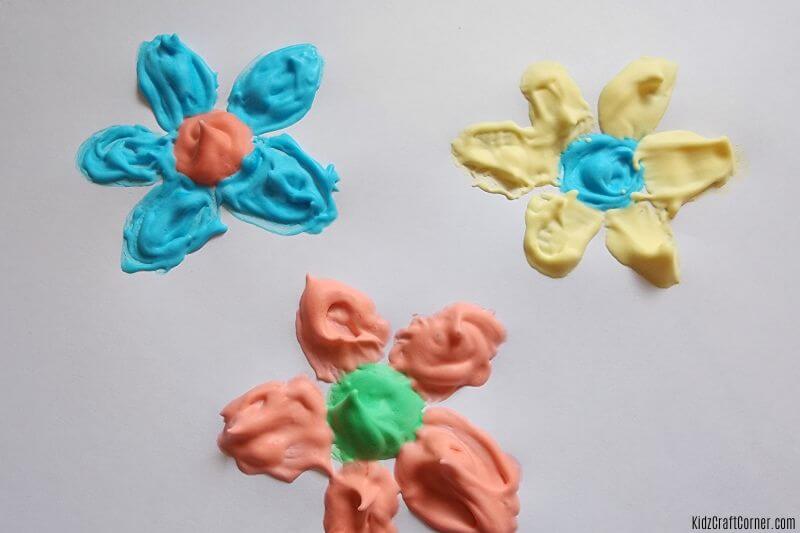
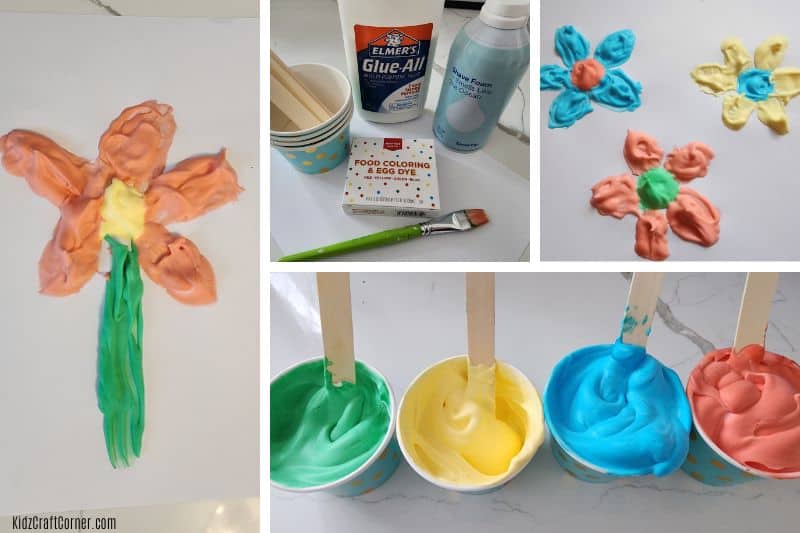
My kid’s masterpieces using our DIY puffy paint!
Puffy Paint Recipe – Summary
That’s it! With just a few simple supplies and easy steps, you can make your own puffy paint and create colorful and textured works of art with your kids. So grab your supplies and let your creativity run wild!
If you enjoyed this craft, save it for later and follow us on Pinterest for more fun craft ideas.
Fun craft ideas: