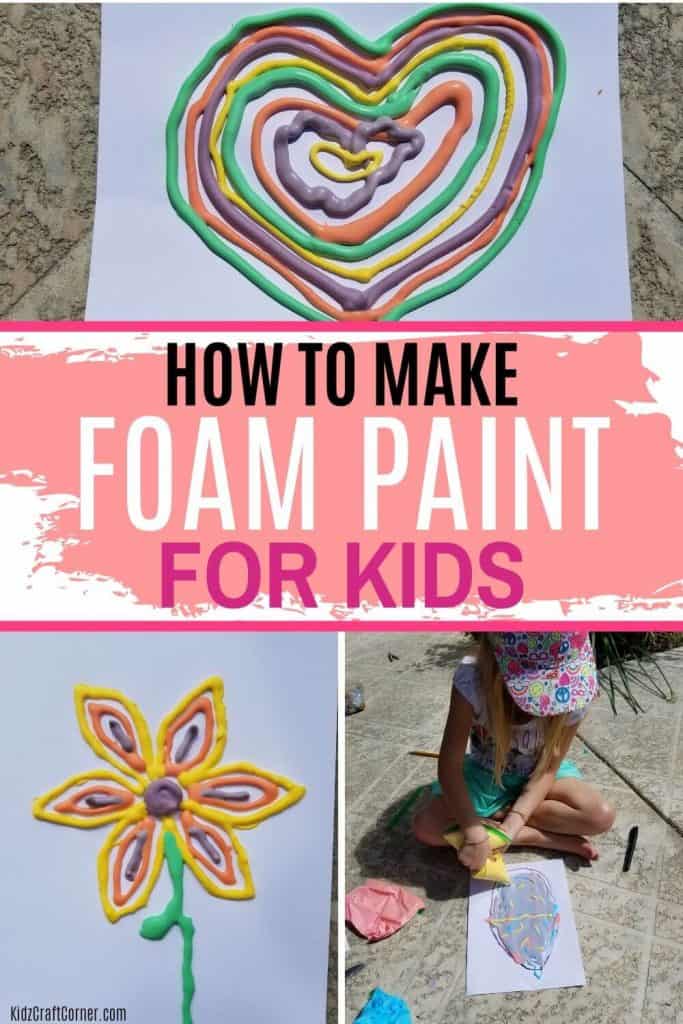
How To Make Foam Paint For Kids (Foam Paint Recipe)
Have you tried making foam paint before? If not, your world is about to be changed for the better.
Not only is this one of my daughter’s favorite crafts, but it also happens to be one of mine too. I wouldn’t have known this had I not tried this craft myself.
So parents make sure you give this foam paint craft a try. After all, one of the best parts about crafting with your kids is that it brings you closer together.
Notice: This post contains affiliate links. To learn more, read our Disclaimer Here.
Foam Paint Details:
Age Group: 2+ yrs
Difficulty: Easy
Time To Complete: 20 min
If your child is old enough to squeeze painting foam out of a baggie, he or she is old enough to do this project.
This foam project keeps my 3-year old busy for about 20 minutes whereas it keeps my 6-year old busy for up to an hour.
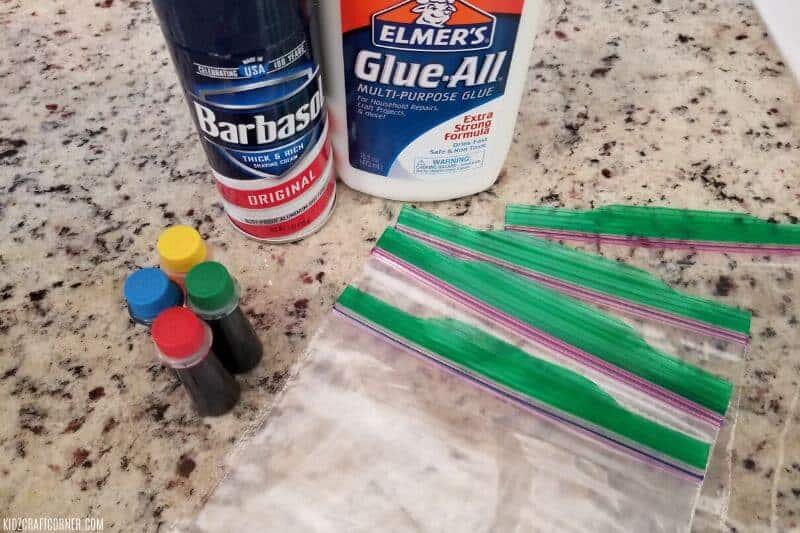
Supplies Needed For Foam Paint Recipe
This foam paint recipe is straightforward. If you are lucky, you might even have all the supplies at your home.
Here is what you’ll need for this DIY foam paint:
I bought a large 16oz bottle of glue for this. A smaller bottle of glue would work; you just won’t be able to make as much foam paint.
Other fun crafts:
- Make Your Own Unicorn Puppet In 4 Easy Steps
- The Rainbow Paper Craft Your Kids Will Obsess Over
- The Cute Unicorn Ring Craft Your Kids Will Absolutely Love
- Simple Mermaid Popsicle Project For Preschoolers
How To Make Foam Paint
This is a little messy, as with any craft that involves shaving cream. We did this craft out on the back patio, so we could just spray down the surface when we were done.
Make sure you cover your workspace as you will be working with food coloring.
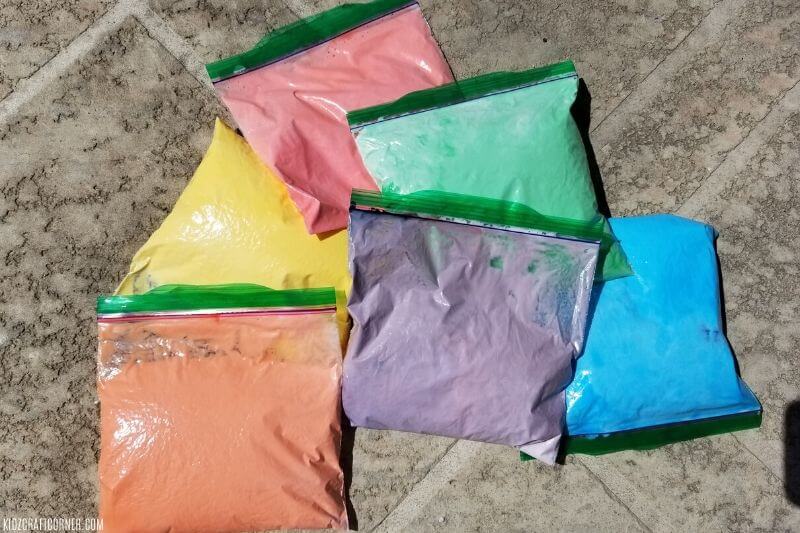
Step 1: Fill Your Ziploc Bags
Fill your Ziploc bags with shaving cream and glue. Start with filling the bag with equal parts shaving cream and glue, filling the bag half full.
Once the bag is halfway full, add your desirable color of food coloring.
Then fill the bag the rest of the way full with shaving cream. You’ll be surprised at how much shaving cream and glue fit in each baggie.
Step 2: Squeeze The Bag Of Foam Paint
This part is just as fun as painting.
Making sure the Ziploc baggies are tightly sealed. Have your kids shake and squeeze each bag to mix up the food coloring, glue, and shaving cream.
Step 3: Cut Off the Corner of the Baggie
Clip off the corner of each baggie. Start with a smaller hole. You can always make the hole bigger, but you can’t make the hole smaller.
If the foam paint comes pouring out when you clip off the edge, you’ll need to add more shaving cream.
You’ll want a consistency similar to whip cream. If it’s hard to squeeze out of the baggie, add more glue.
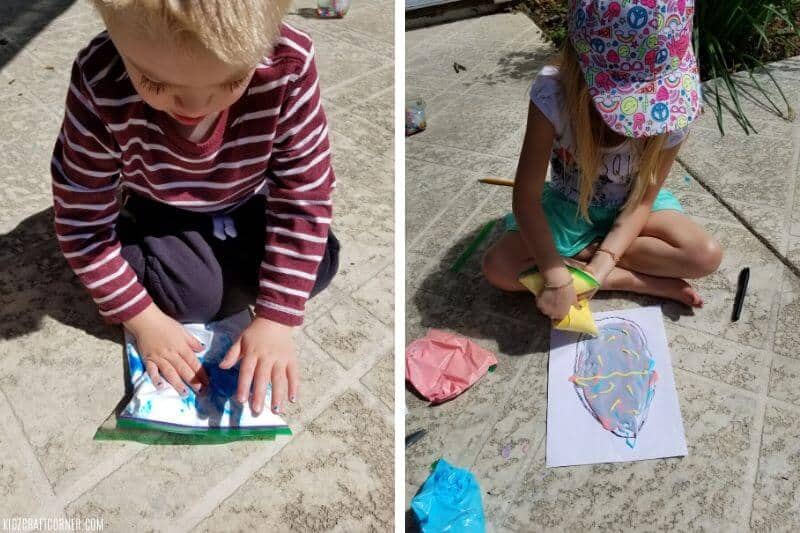
Step 4: Start Drawing
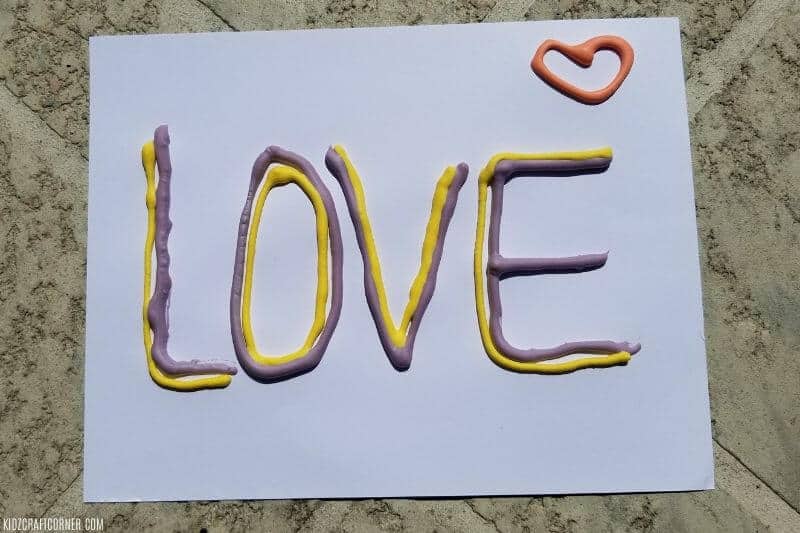
Once the edges are cut from the baggies, start drawing. My 3-year-old has more fun playing in the foam paint on his paper, whereas my 6-year-old likes to draw actual pictures.
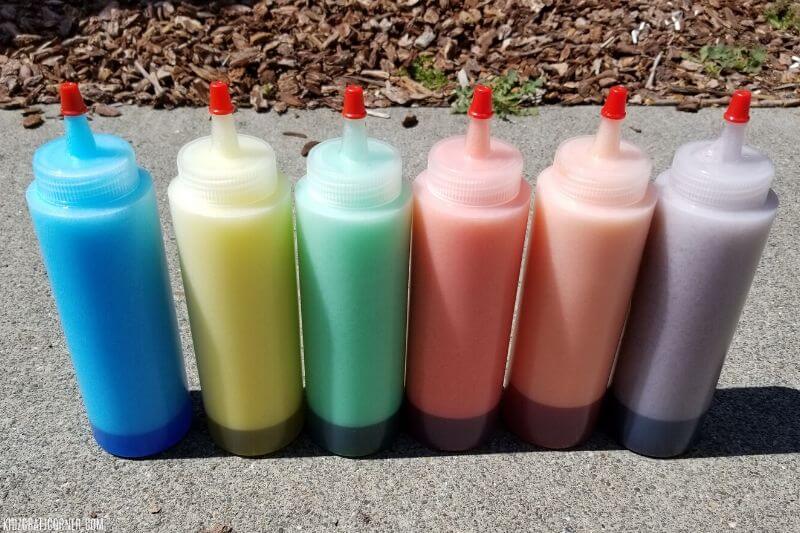
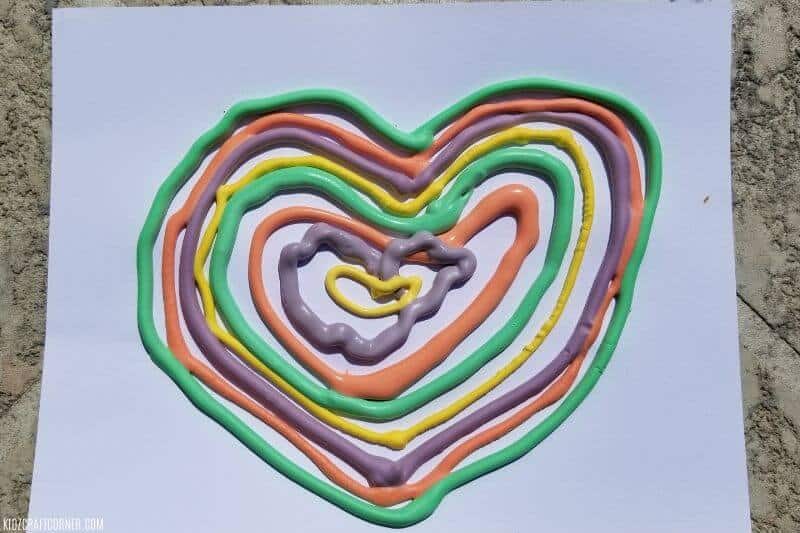
Once you are done with your foam paint project, lay them out to dry. When with a few hours, the foam paint will dry and harden. Then you can hang them up to display.
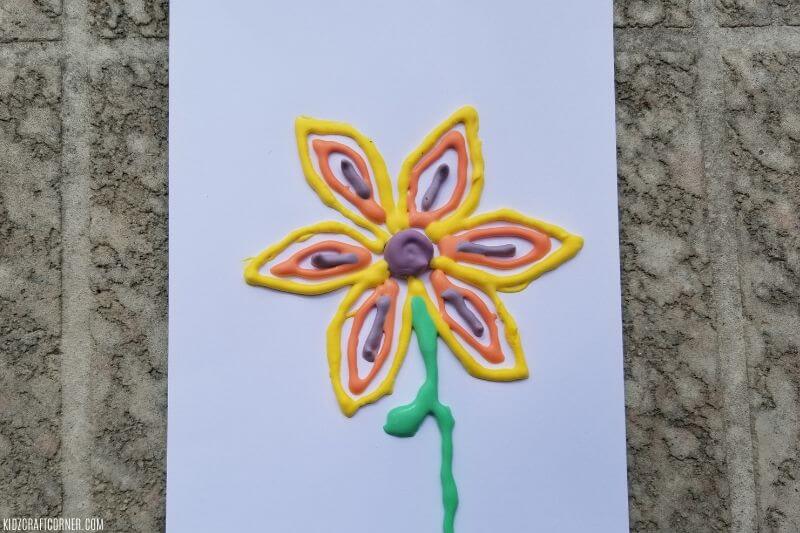
This foam paint craft is so much fun! Make sure to give it a try. Your child is guaranteed to love it. =)
If you enjoyed this painting foam craft, make sure to save it, and follow us on Pinterest for more kid’s craft ideas!
Fun crafts: