
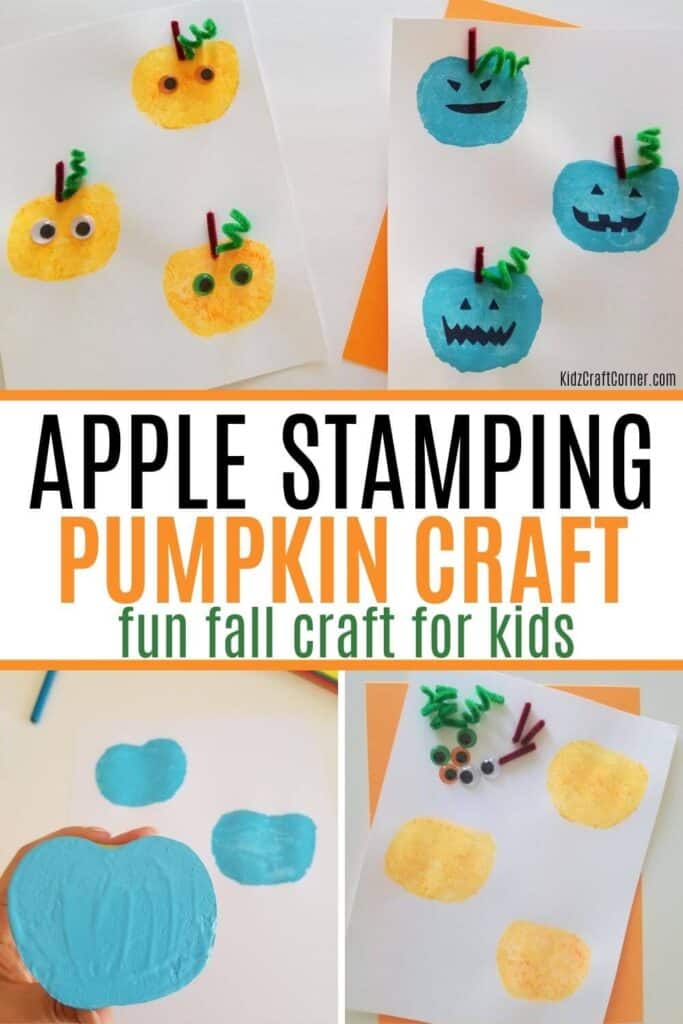
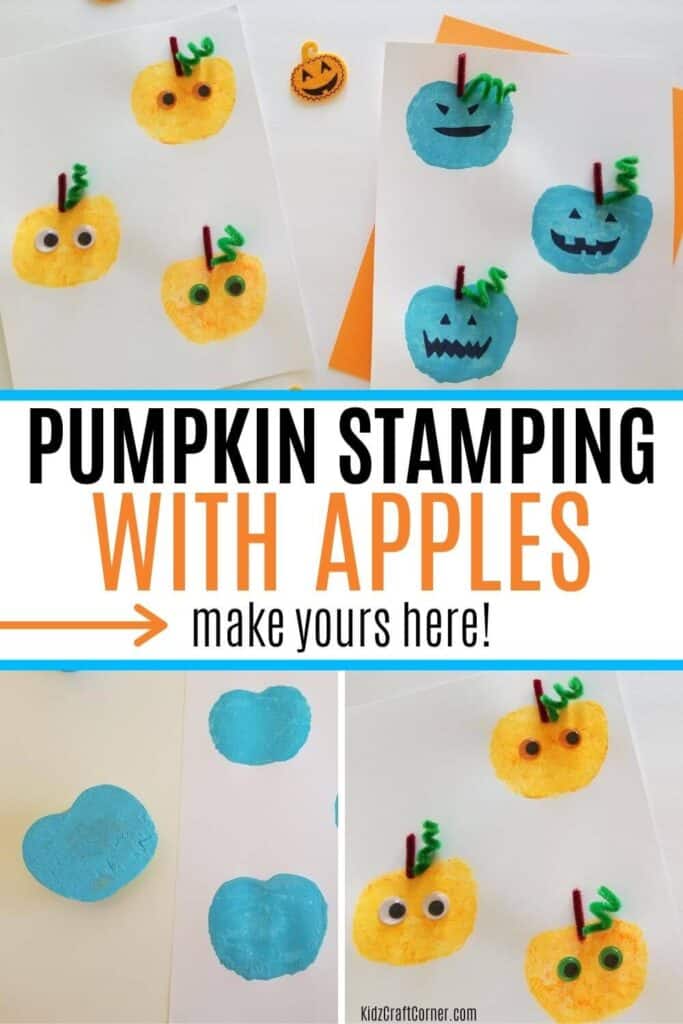
How To Make Pumpkin Stamp Art With Apples
It’s that time of year again! The leaves are beginning to change into beautiful shades of red, orange, and yellow.
This season is by far a favorite as pumpkins, ghosts, and goblins begin to appear on doorsteps. What better way to celebrate the change in seasons than by with some fun arts and crafts?
Let’s start this season right with some awesome pumpkin stamp art.
Notice: This post contains affiliate links. To learn more, read our Disclaimer Here.
Pumpkin Stamp Art Details:
This is a simple stamping art project that can be done by kids of any age!
Age Group: 3+ yrs
Difficulty: Easy
Time To Complete: 10 minutes
Supplies Needed To Make Pumpkin Stamps
You can really tailor these pumpkin stamps and use the supplies you already have at home.
Here’s what you’ll need for this craft:
- Store-bought apples
- Cardstock Paper
- Paint– orange or color of your choice
- Paintbrush
- Googly eyes
- Pipe cleaners– brown and green
If you are missing something from the supply list, it’s okay! For example, if you don’t have googly eyes, let your child draw some on with a marker. Or use buttons. If you don’t have pipe cleaners, use string, twine, or anything else you can find lying around your home.
Other fun Halloween crafts to try:
- How To Make A Paper Plate Owl
- 20 Fun Handprint Crafts You Need To Try This Fall
- 21 Pumpkin Crafts You Need To Try This Fall
- 17 Fun Crafts With Real Leaves (Your Kids Will Love)
How To Make Awesome Pumpkin Apple Stamps
Here’s where things start to get fun. It’s time to let your child get creative with these pumpkin stamps.
Step 1: Collect the supplies need for your apple stamps
Use the list above to collect your supplies. Cut the brown pipe cleaners into small pieces to use as stems.
Next, chop in half an apple or two, depending on how many kids will be doing the project and how many different paint colors you will use.
Step 2: Paint your apple
Have your child use a paintbrush and paint the entire apple surface. Make sure to cover the apple with a thick coat of paint.
We used blue and orange paint for this craft, but that was only because that’s what I had on hand. Keep in mind water-based paints won’t work well because the apple is already wet.
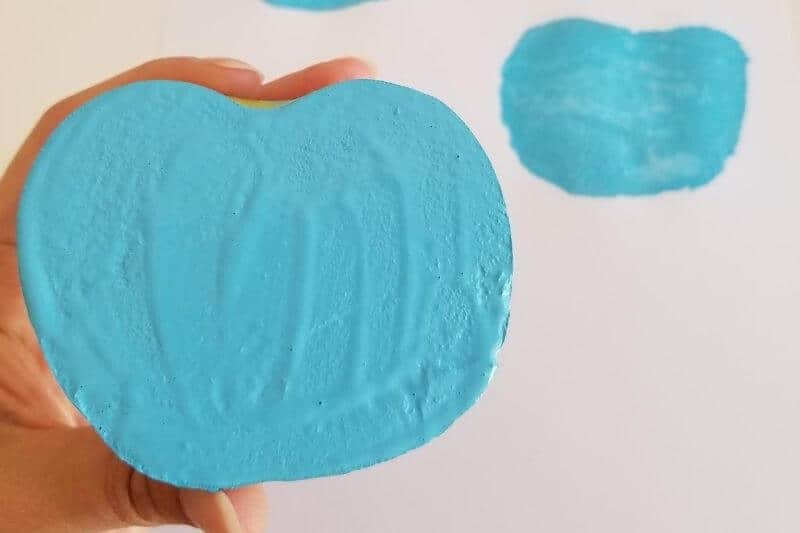
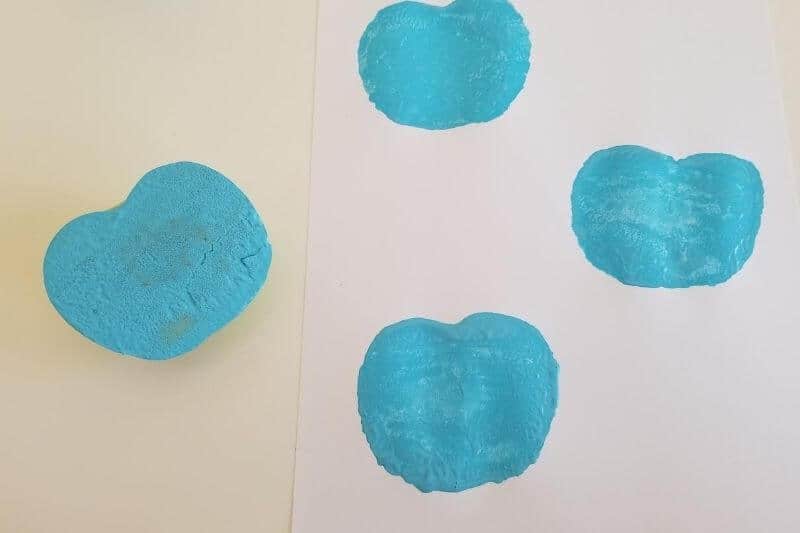
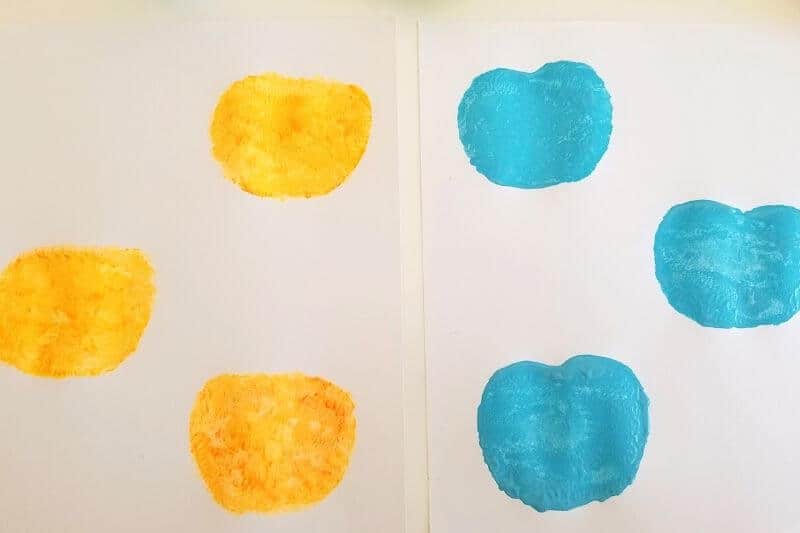
Step 3: Press your painted apple onto cardstock paper
Take your apple and press them firmly onto your paper. I recommend using cardstock paper because it is thicker. However, construction paper or computer paper will work fine if that’s all you have on hand.
Once you start doing the apple stamps, you will be able to tell if you do or don’t have enough paint on the apple.
Step 4: Let your artwork dry
Once your child is done stamping, have them set aside their artwork until it’s dry. Depending on how much paint was used and the thickness of the paper. It shouldn’t take long to dry.
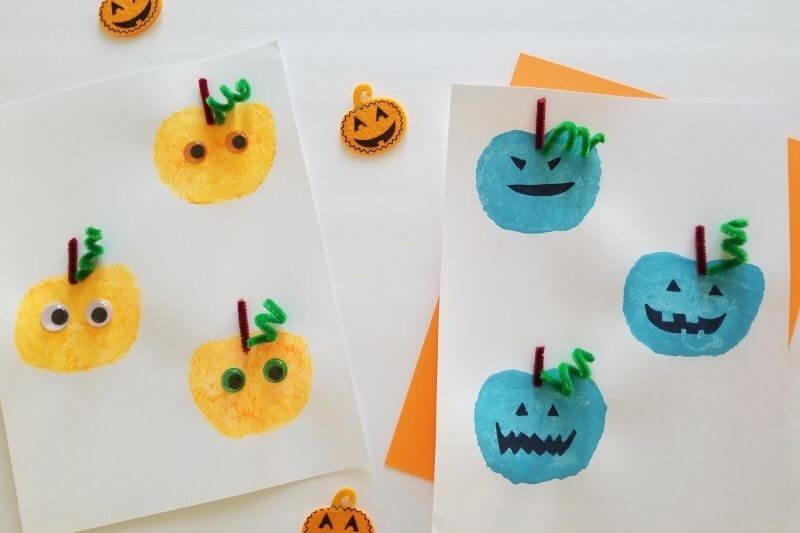
Step 5: Assemble Your Pumpkin Stamp Craft
It’s time to assemble your craft!
Let your child place the googly eyes and stems where they want. This is a perfect time if they want to add additional decorations to their pumpkin.

Here is the finished product! Now it’s your turn. Let us know how your apple stamping project turned out in the comments below.
If you enjoyed this craft, make sure to save it for later and follow us on Pinterest for more fun craft ideas.
More fun craft ideas:


