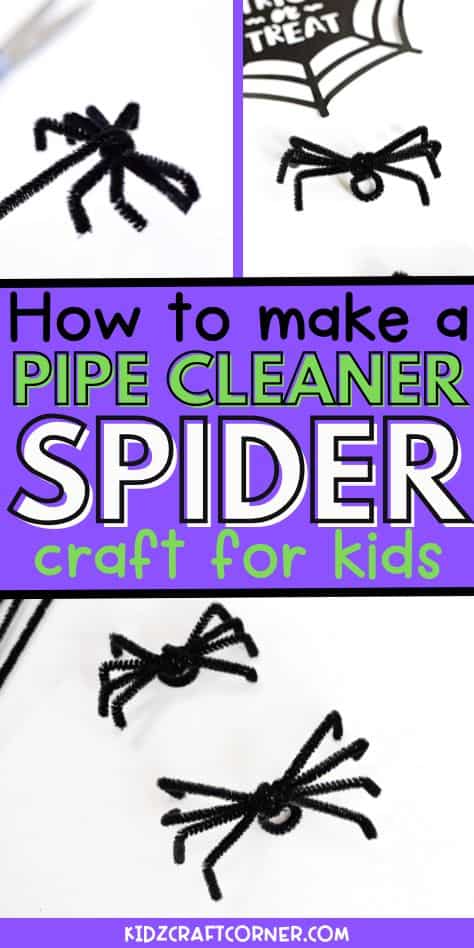
Fun and Easy Pipe Cleaner Spider Ring Tutorial
Are you looking for a spooky fun craft that’s perfect for Halloween? Or maybe you have a kiddo who loves spider? This pipe cleaner spider ring is just the thing! In this simple tutorial, I’ll show you how to make a spider out of pipe cleaners that you can wear on your finger.
It’s a quick and easy pipe cleaner spider craft that’s great for kids and adults alike. Whether you’re making creepy-cute accessories for a costume or planning a Halloween party activity, this pipe cleaner spider ring is sure to be a big hit!
Notice: This post contains affiliate links. To learn more, read our Disclaimer Here.
Pipe Cleaner Spider Ring Craft
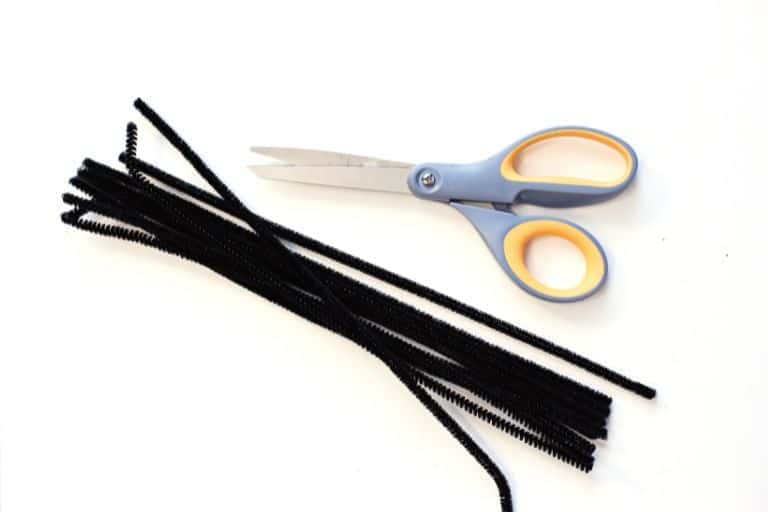
If you haven’t made spiders out of pipe cleaners with your kids, now is your chance. This supply list is short and sweet!
Supplies:
Optional: You can also use googly eyes or a dab of glue if you’d like to give your spider a fun personality!
Instructions for this Easy Pipe Cleaner Spider
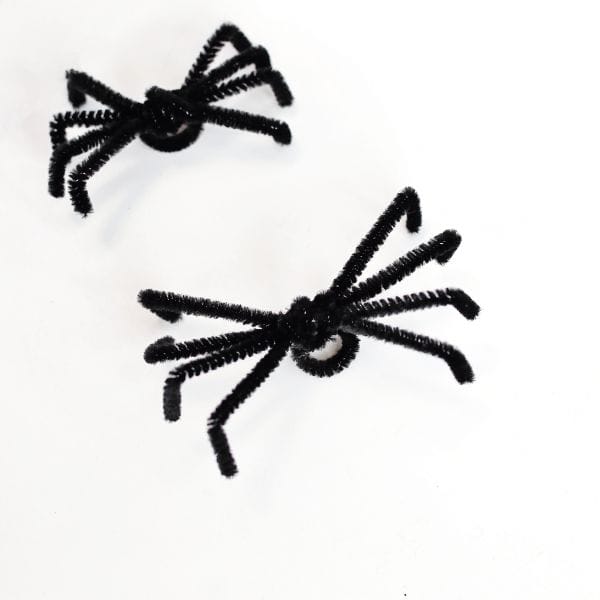
1. Make the Legs
Gather four black pipe cleaners and bunch them together evenly. These will form the spider’s eight legs.
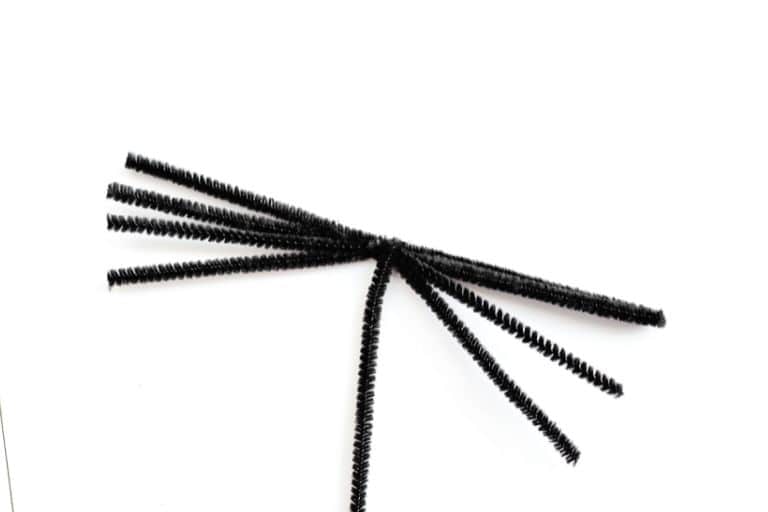
2. Wrap the Body
Take a fifth pipe cleaner and wrap it tightly around the middle of the bundled legs 2-3 times. This secures them in place and starts to form the spider’s body. You should now have four legs sticking out from each side.

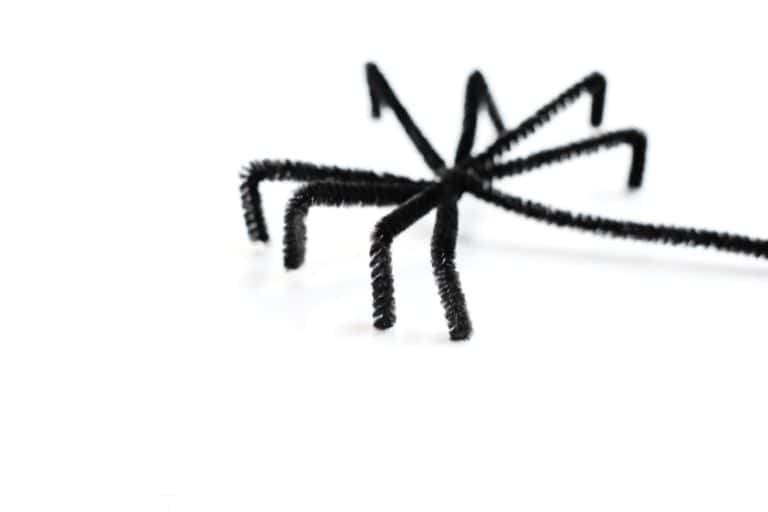
3. Trim the Legs
If the legs are too long, trim them down to a manageable length. You want them short enough to be wearable as a ring but long enough to bend into shape.

4. Shape the Legs
Bend the last third of each leg downward so the spider can stand. Adjust them to make the spider look like it’s perched and creepy-crawling.
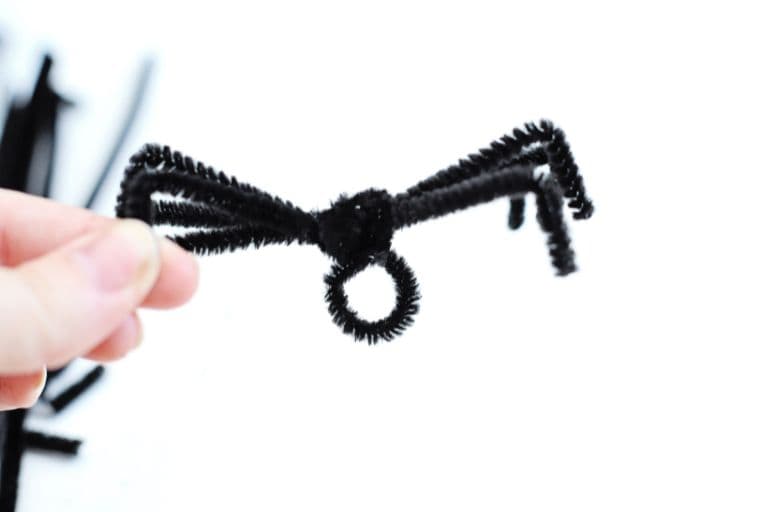
5. Finish the Body and Form the Ring
Take the fifth pipe cleaner and wrap it a few more times around the middle to bulk up the body. Leave about 2 inches unwrapped.
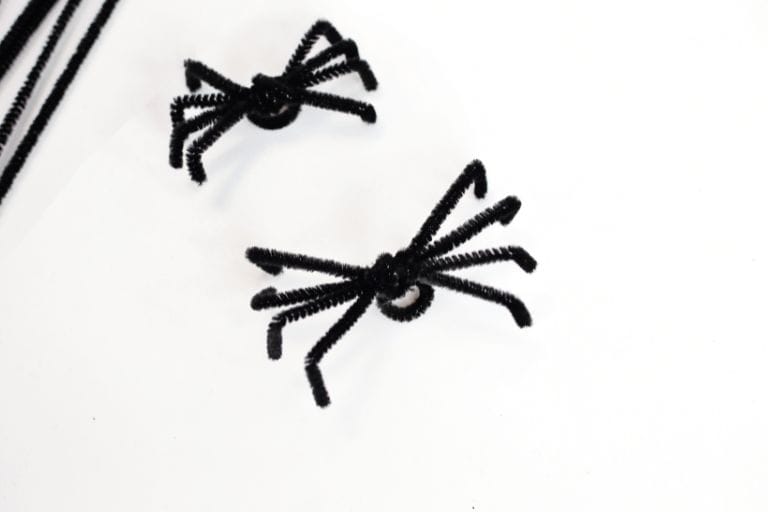
6. Make the Ring Loop
Use the unwrapped end to form a small loop under the spider’s body. This will be the part that slips onto your finger. Wrap any remaining piece of the pipe cleaner around the spider’s body and carefully tuck in the end to prevent it from scratching.
7. Secure the Loop
Twist the end of the loop once to secure the shape.

If you enjoyed this craft, save it for later and follow us on Pinterest for more fun ideas.
Related crafts: