Festive Tissue Paper Candy Cane Craft for Kids
If you’re looking for a simple and festive Christmas craft that’s perfect for little hands, this tissue paper candy cane craft is the one to try! It’s colorful, easy to make, and helps kids practice fine motor skills while getting creative. Plus, the finished candy canes make adorable holiday decorations for your home or classroom.

Notice: This post contains affiliate links. To learn more, read our Disclaimer Here.
Whether you’re crafting at home with your kids, running a preschool art activity, or planning a classroom Christmas project, this candy cane craft is fun, mess-free, and inexpensive. All you need are a few common supplies like cardboard, tissue paper, glue and you’ll have a sweet holiday project everyone will enjoy!
Supplies You’ll Need
To make your tissue paper candy cane craft, gather these materials:
- Cardboard
- Pencil
- Scissors
- Red tissue paper
- White tissue paper
- Glue or glue stick

Helpful Craft Supplies You Can Grab Online:
- Tissue paper craft pack — includes a variety of colors for all your holiday crafts.
- Kid-safe scissors — perfect for little ones learning to cut.
- Washable glue sticks — easy for kids to use and clean up.
Directions for you Candy Cane Craft
Prep Time: 10 minutes
Total Time: 20 minutes
Skill Level: Easy
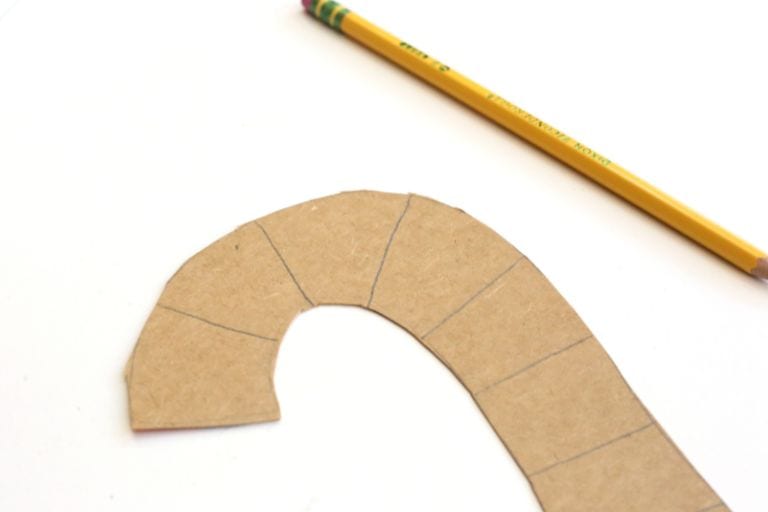
Step 1: Draw Your Candy Cane
Using a pencil, draw a large candy cane shape on a piece of cardboard. You can make it as big or small as you like — bigger candy canes are perfect for wall or door decorations!

Step 2: Cut It Out
Carefully cut out your candy cane shape with scissors. If your child is younger, you may want to cut the shape for them ahead of time.

Looking for more Christmas projects? Try our Popsicle Stick Christmas Tree Craft or Bow Tie Pasta Christmas Wreath Craft next!
Step 3: Mark the Stripes
Draw diagonal lines across the candy cane to show where the red and white stripes will go. This helps kids see where to place each color of tissue paper.
Step 4: Prepare the Tissue Paper
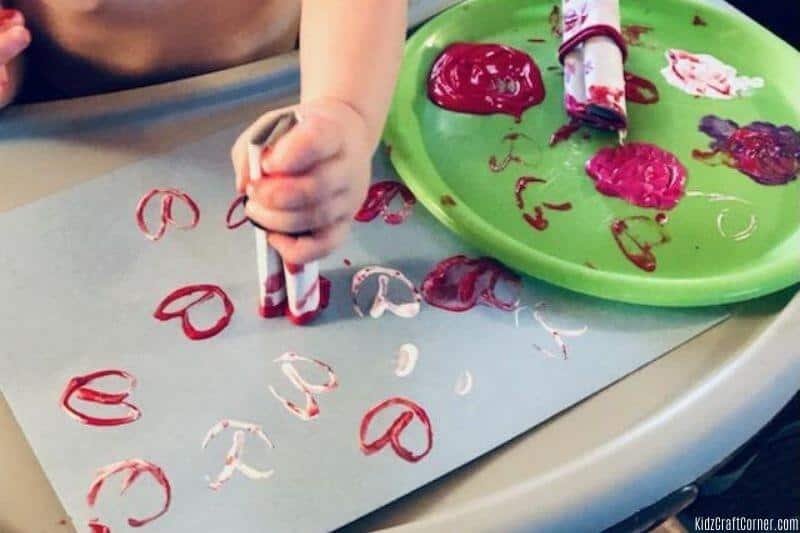
Tear or cut red and white tissue paper into small squares, about 1–2 inches each. Crumple each piece into a small ball — this part is super fun for kids and great for strengthening fine motor skills!

Step 5: Add the Tissue Paper
Working one section at a time, apply glue to the cardboard and press on the tissue paper balls, alternating between red and white to create the candy cane stripes. Continue until your candy cane is completely covered.

Step 6: Let It Dry
Set your candy cane aside to dry completely before hanging or displaying.

Tips for Success
- Want a classroom-friendly version? Use construction paper sheets instead of cardboard for an easier-to-cut base.
- Add a piece of string or ribbon at the top to hang it on your Christmas tree or door.
- Let kids add glitter glue or stickers for an extra festive touch.
Candy Cane Tissue Paper Craft Final Thoughts
This tissue paper candy cane craft is a cheerful and easy Christmas project that kids will love making and displaying. Whether you use it as a homemade ornament, a wall decoration, or a classroom art project, it’s sure to bring smiles and a little extra holiday magic to your day.
So grab your tissue paper and glue sticks, and let’s get crafting — these candy canes are too cute not to make!
More Holiday Crafts to Try
Keep the Christmas fun going with these festive crafts:
- Jingle Bell Ornament Craft for Kids
- Paper Plate Christmas Tree
- Reindeer Food Activity
- Cute Marshmallow Snowman Craft You Can Eat
If you enjoyed this craft, save it for later and follow us on Pinterest for more fun ideas.